Description
Description
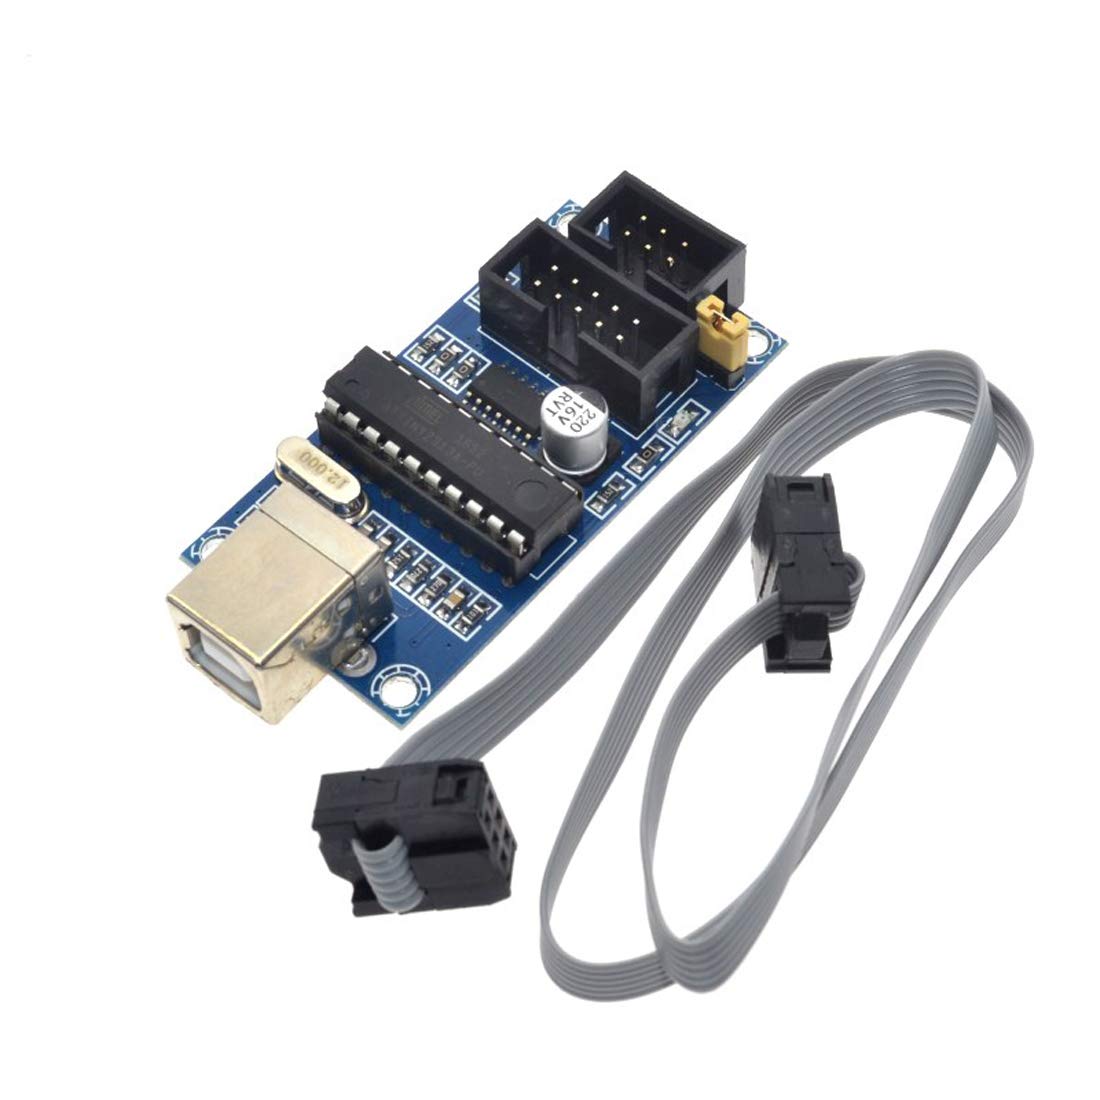
USBtinyISP is a download cable based on the AVR microcontroller ISP USB interface, with which you can download the program for the most of the AVR microcontroller. It has been mainly used to download the bootloader.
Features:
- ISP connector: 6-pin and 10-pin
- size: 28.8mm x 61.6mm
Getting started with the USBTiny USBtinyISP AVR ISP programmer
In this tutorial we are going to to install a bootloader onto AVR chip by using Arduino and USBtinyISP.
Step1: Hardware required
1. Arduino (Arduino un0)
2 AVR chip (eg: ATmega328)
3. USBtinyISP
4. ISP connector: 6-pin
5. Arduino USB cable
Step2: Connecting the Hardware


Step3: Setting up the library
Connect USBtinyISP to the computer and then go to device manager, when its drivers are not installed on your computer, you should see this:

Then, you will download drivers for USBtinyISP and install them to your computer, then the device manager windows should appear like this:

Step4: Install a bootloader onto AVR chip by following these steps:
- Put a fresh AVR chip (such as an Atmega328) into the Arduino in the correct orientation
- Remove the jumper from the USBtinyISP
- Plug in the USBtiny to USB
- Plug the Arduino into DC or USB so it is powered
- Plug the 6 pin cable from the USBtinyISP into the Arduino so that pin 1 mark is lined up with the red wire on the cable
- Start up Arduino IDE
- Select the chip/Arduino you are using in the Tools->Board menu
- Do not select a COM/Serial port
- Select Tools->Programmer->USBtinyISP
- To install bootloader, select Tools->Burn bootloader
The USBtinyISP red LED should light up. It will take a minute or two to program the chip. When it is done, the IDE will tell you it has completed as it is shown below.


