Description
Given that this device measures whether or not sound has exceeded a threshold, you’re basically left with determining what it is you want to do. What I mean by this is that you can do something when it is quiet and/or you can do something when it is loud. For example:
- You could detect whether or not a motor is running.
- You could set a threshold on pump sound so that you know whether or not there is cavitation.
- In the presence of no sound, you might want to create an ambiance by turning on music.
- In the presence of no sound and no motion, you may go into an energy savings mode and turn off the lights.
Getting started with the Audio Microphone Sound detection module
This post shows how to use the microphone sound sensor with the Arduino board.In this example, a microphone sensor will detect the sound intensity of your surroundings and will light up an LED if the sound intensity is above a certain threshold.
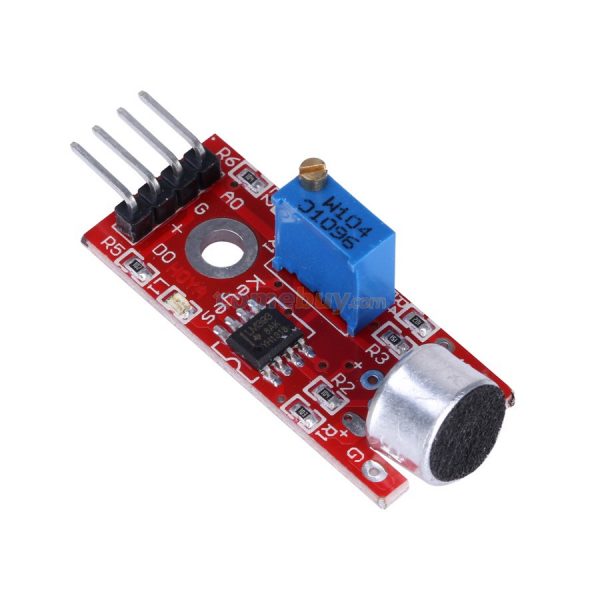
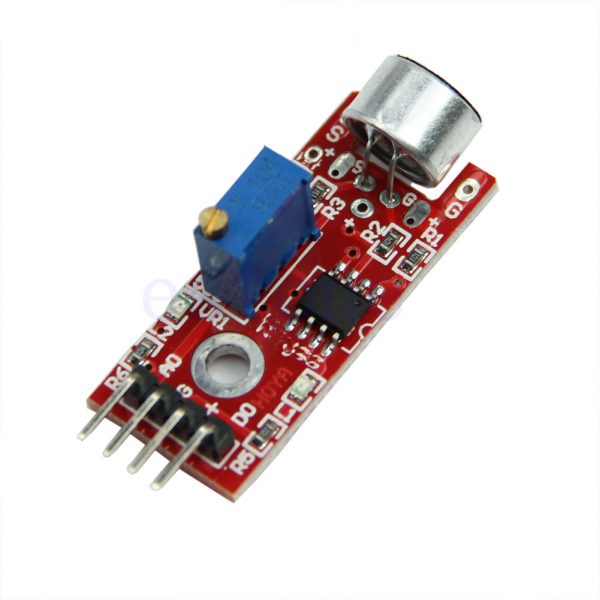
The microphone sound sensor, as the name says, detects sound. It gives a measurement of how loud a sound is.There are a wide variety of these sensors. In the figure below you can see the most common used with the Arduino.

At the leftmost side, you can see the KY-038 and at the right the LM393 microphone sound sensor.Both sensor modules have a built-in potentiometer to adjust the sensitivity of the digital output pin.
Wiring your sensor to the Arduino is pretty straight forward:
| Pin | Wiring to Arduino |
| A0 | Analog pins |
| D0 | Digital pins |
| GND | GND |
| VCC | 5V |
If you’re using the LM393 module, you should connect the OUT pin to an Arduino digital pin.
Hardware required
Connecting the Hardware

Code
Upload the following code to your Arduino board.
int ledPin=13;
int sensorPin=7;
boolean val =0;
void setup(){
pinMode(ledPin, OUTPUT);
pinMode(sensorPin, INPUT);
Serial.begin (9600);
}
void loop (){
val =digitalRead(sensorPin);
Serial.println (val);
// when the sensor detects a signal above the threshold value, LED flashes
if (val==HIGH) {
digitalWrite(ledPin, HIGH);
}
else {
digitalWrite(ledPin, LOW);
}
}
After uploading the code, you can clap next to the sensor. If the LED is not lighting up, you need to change the sensor sensitivity by rotating the potentiometer. You can also adjust the sensitivity so that the LED follows the beat of a certain music.
NOTE:That example outputs 1, if the sound levels are above a certain threshold, and 0, if they are below.If you are always getting 1, it means that your threshold is too low.You need to adjust the threshold of your sensor by rotating the potentiometer at the back. One LED indicates the sensor is being powered, and the other indicates the digital output. So, if you are always getting 1, the two LEDs on the sensor are lit. If you get 0, the second LED should be off.
Alternatively, if your sensor has an analog output pin, you can read that pin instead using the analogRead() function. You’ll get varying values between 0 and 255 depending on the sound intensity.


