Description
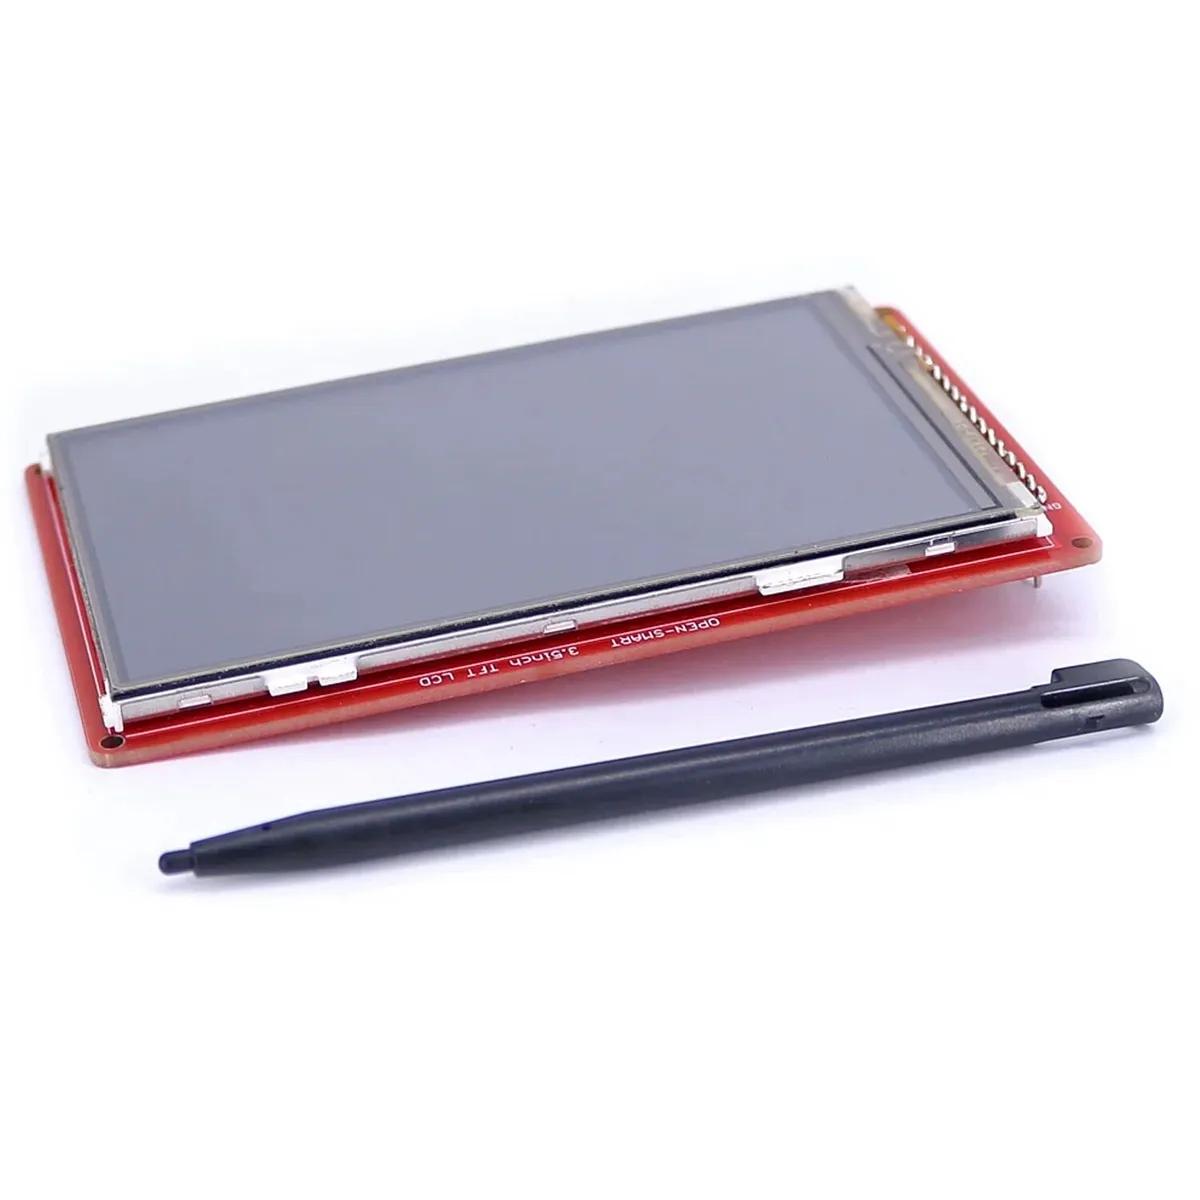
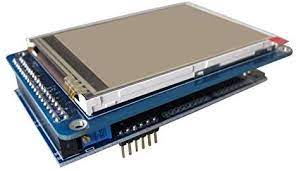
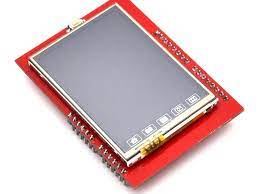
This is a 3.2 inch TFT touch screen expansion board using standard Shield interface and it has good compatibility. It integrates a 3.2-inch touch screen, I2C temperature sensor, TF card holder, level conversion circuit, and the secondary development is easy. IF with GPRS module, you can design your Arduino phone. IF with NFC reader module, you can create access control systems with the photos show. IF with voltage and current sensor, you can make oscilloscope.
- Can use it directly to display characters, graphics and BMP format images. And touch controlling is available;
- Compatibility: As the SD card is connected to SPI pins of ICSP interface, compatible with UNO R3 / Mega2560 / Leonardo- Touch screen type: resistive touchscreen.
- Touch Pen: length is 9cm;
- Resolution: 240X400;
- Display size: 3.2 inch;
- Operating voltage: 5V;
- Logic level: 5V / 3.3V;
- On-board 3.3V / 300mA regulator circuit;
- Operating current: the maximum is 150mA
- Use the A0 ~ A3 pins, D4 ~ D13 pins. And I2C interface, D0 / D1 / D2 / D3 is available, please refer to the product schematics for the details.
- Onboard Micro SD slot, support Micro SD / TF Card;
- Onboard LM75 temperature sensor: default I2C address is 0X48, scale is -55 ~ 125’C
- Very suitable for digital photo frame, oscilloscope, function generator, detection system monitor.
Features
- Compatible with Arduino UNO
- Compatible with Arduino MEGA / DUE
- Compatible with Arduino Leonardo
- 3.2 inches Screen
- Touchscreen
- with Temperature Sensor
- with Stylus Pen
- Easy to use
How to get started with 3.2inch TFT LCD Display module Touch Screen ILI9327
In this Arduino Tutorial we will learn how to use TFT LCD Touch Screen with Arduino .
Hardware required
- Arduino Uno/Mega
- 3.2inch 240X400 TFT LCD Display module Touch Screen ILI9327
Connecting the Hardware
Begin by carefully starting the rear connector of the TFT shield onto the Arduino Uno/Mega. Go slowly and ensure that all pins are inserted correctly and are straight.


Setting up the library
In order to use 3.2″ TFT lcd Shield , We must have the libraries. So you can download Adafruit-GFX-Library and MCUFRIEND kbv install the library by extracting that zipped file in the library folder as shown below.

It is an OPEN-SMART Shield. It works with MCUFRIEND_kbv but only as a SPECIAL. You must add two lines in MCUFRIEND_kbv H file.
Open the folder “MCUFRIEND_kbv” into your directory: “C:\Program Files (x86)\Arduino\libraries” , And Open MCUFRIEND_kbv H file . To do some minor edits to H file you can use Notepad++ download it here.

Add two lines as shown below.
#define USE_SPECIAL
#define USE_OPENSMART_SHIELD_PINOUT

Upload the sample sketch
open the sample sketch that is located in file>examples>MCUFRIEND_kbv>graphic test_kbv. as shown below

Results
You will see a different graphic on your TFT screen


