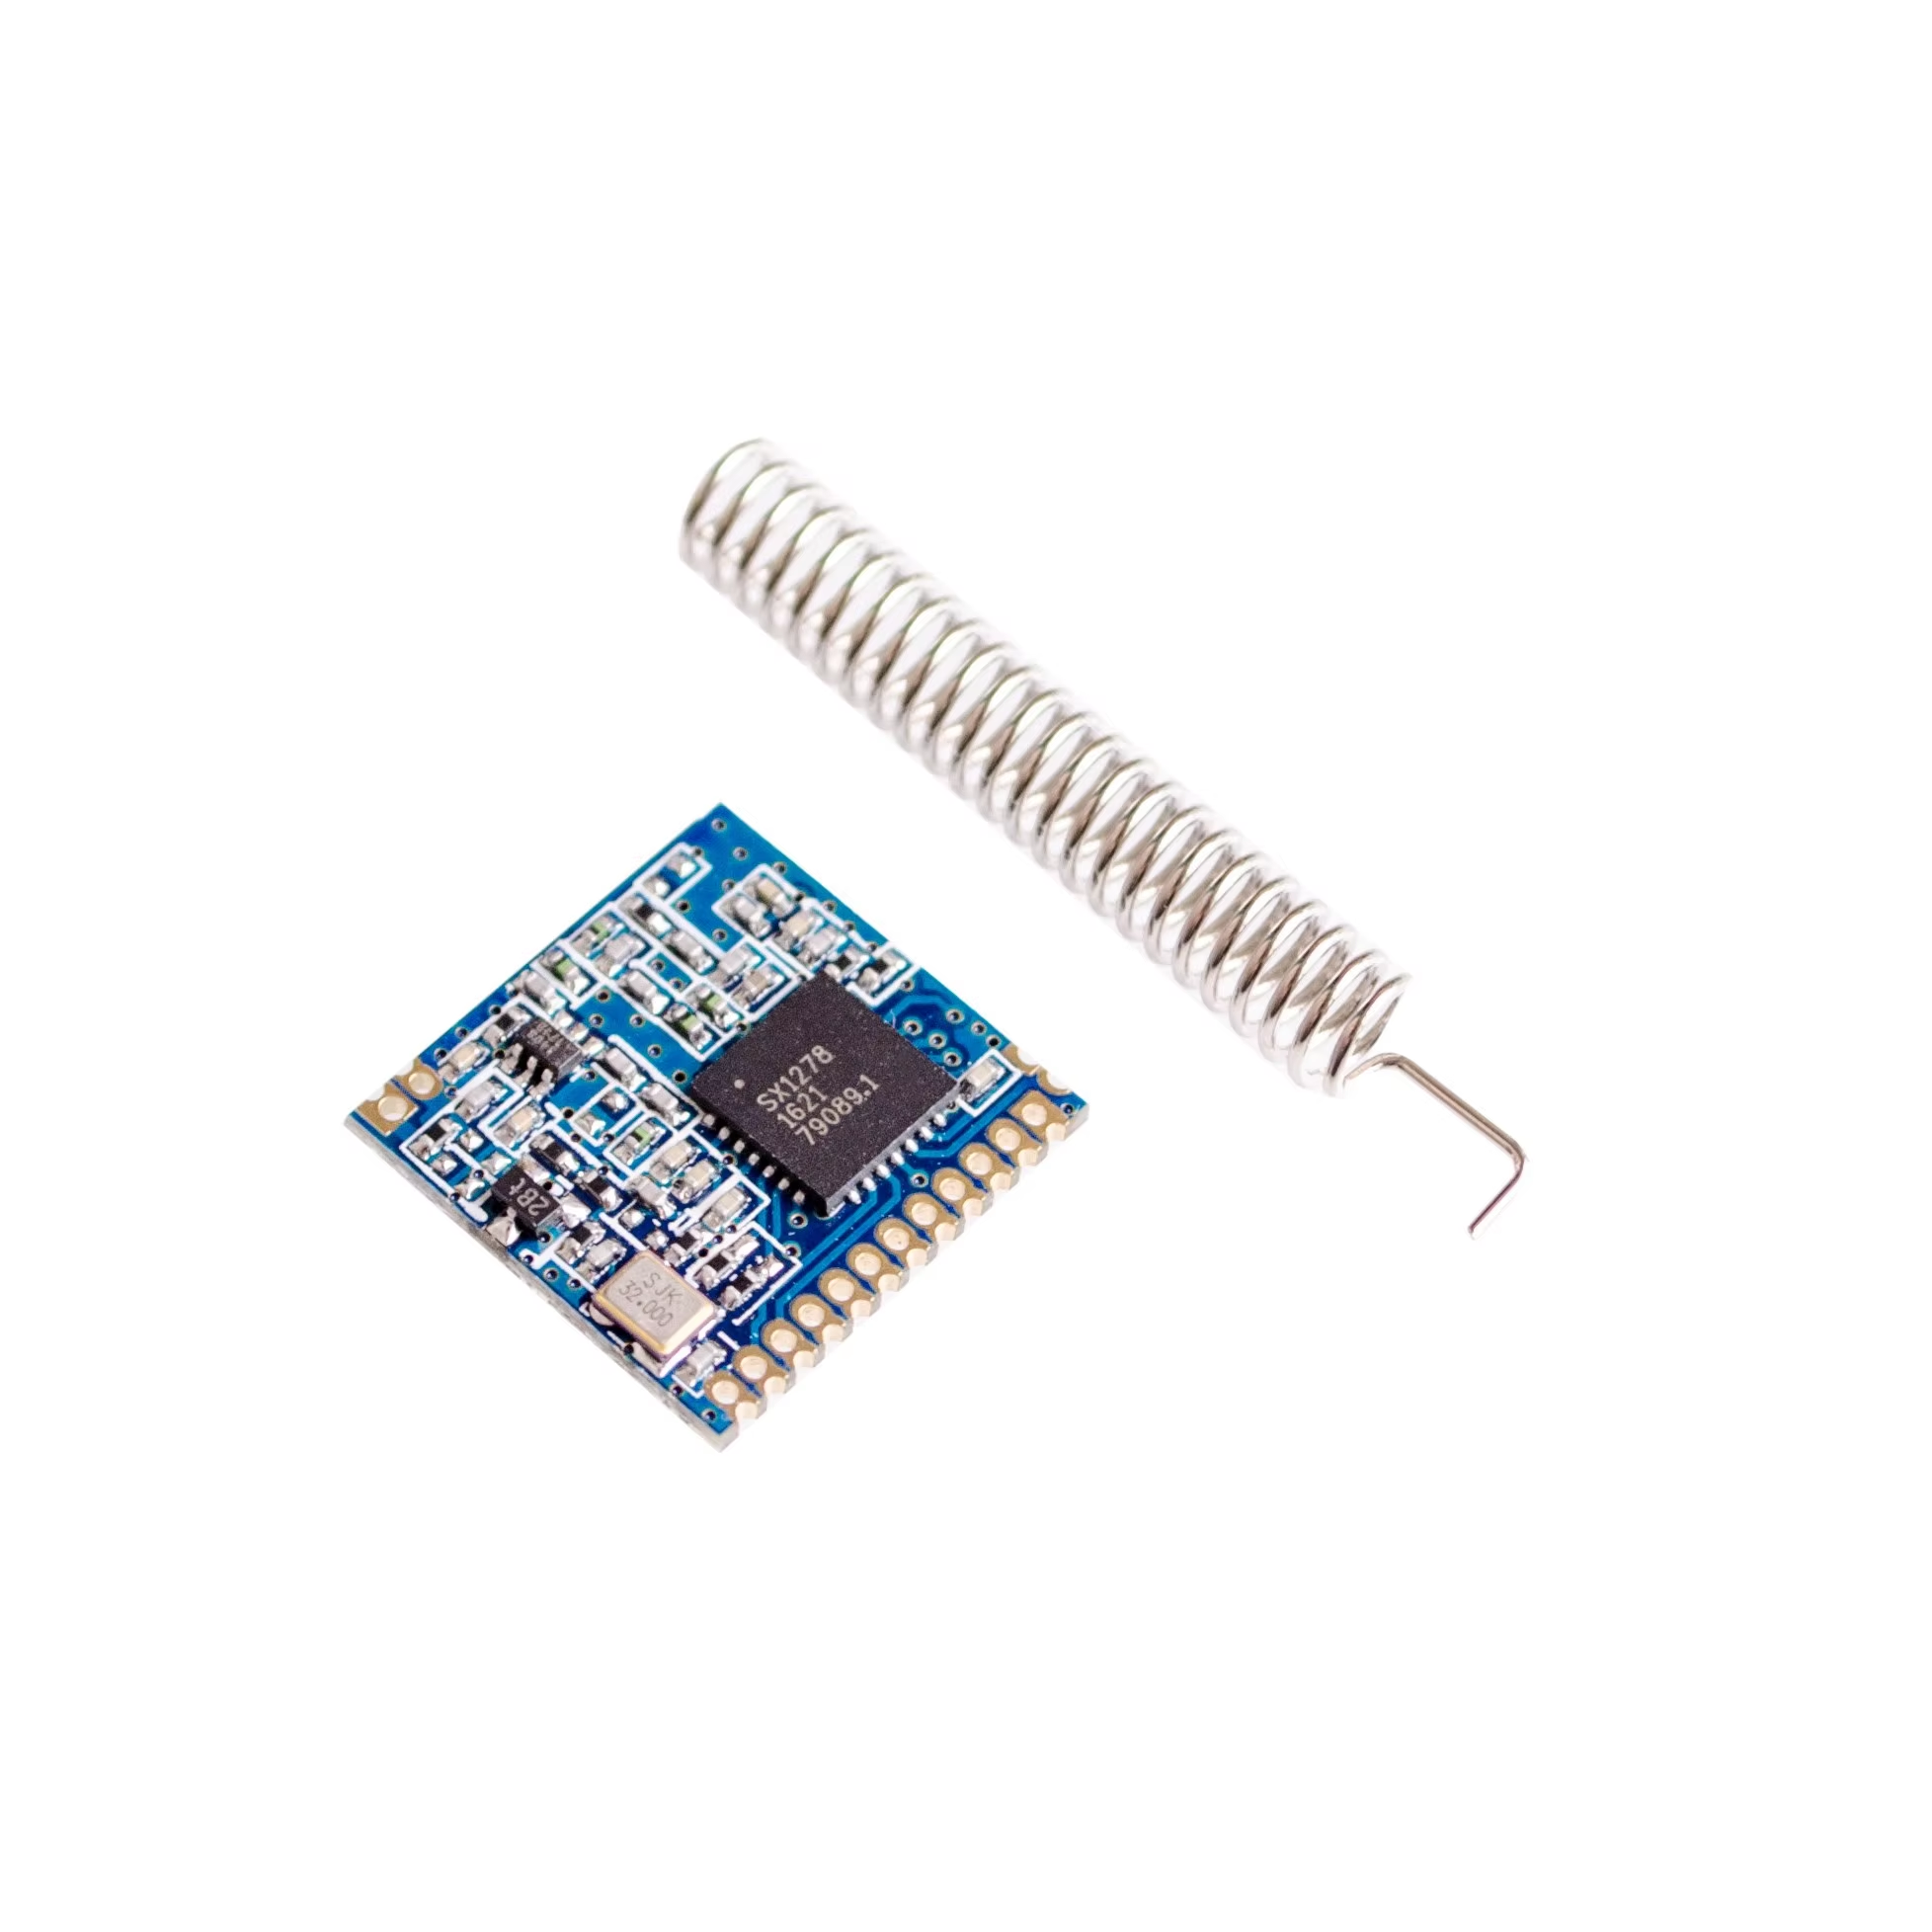
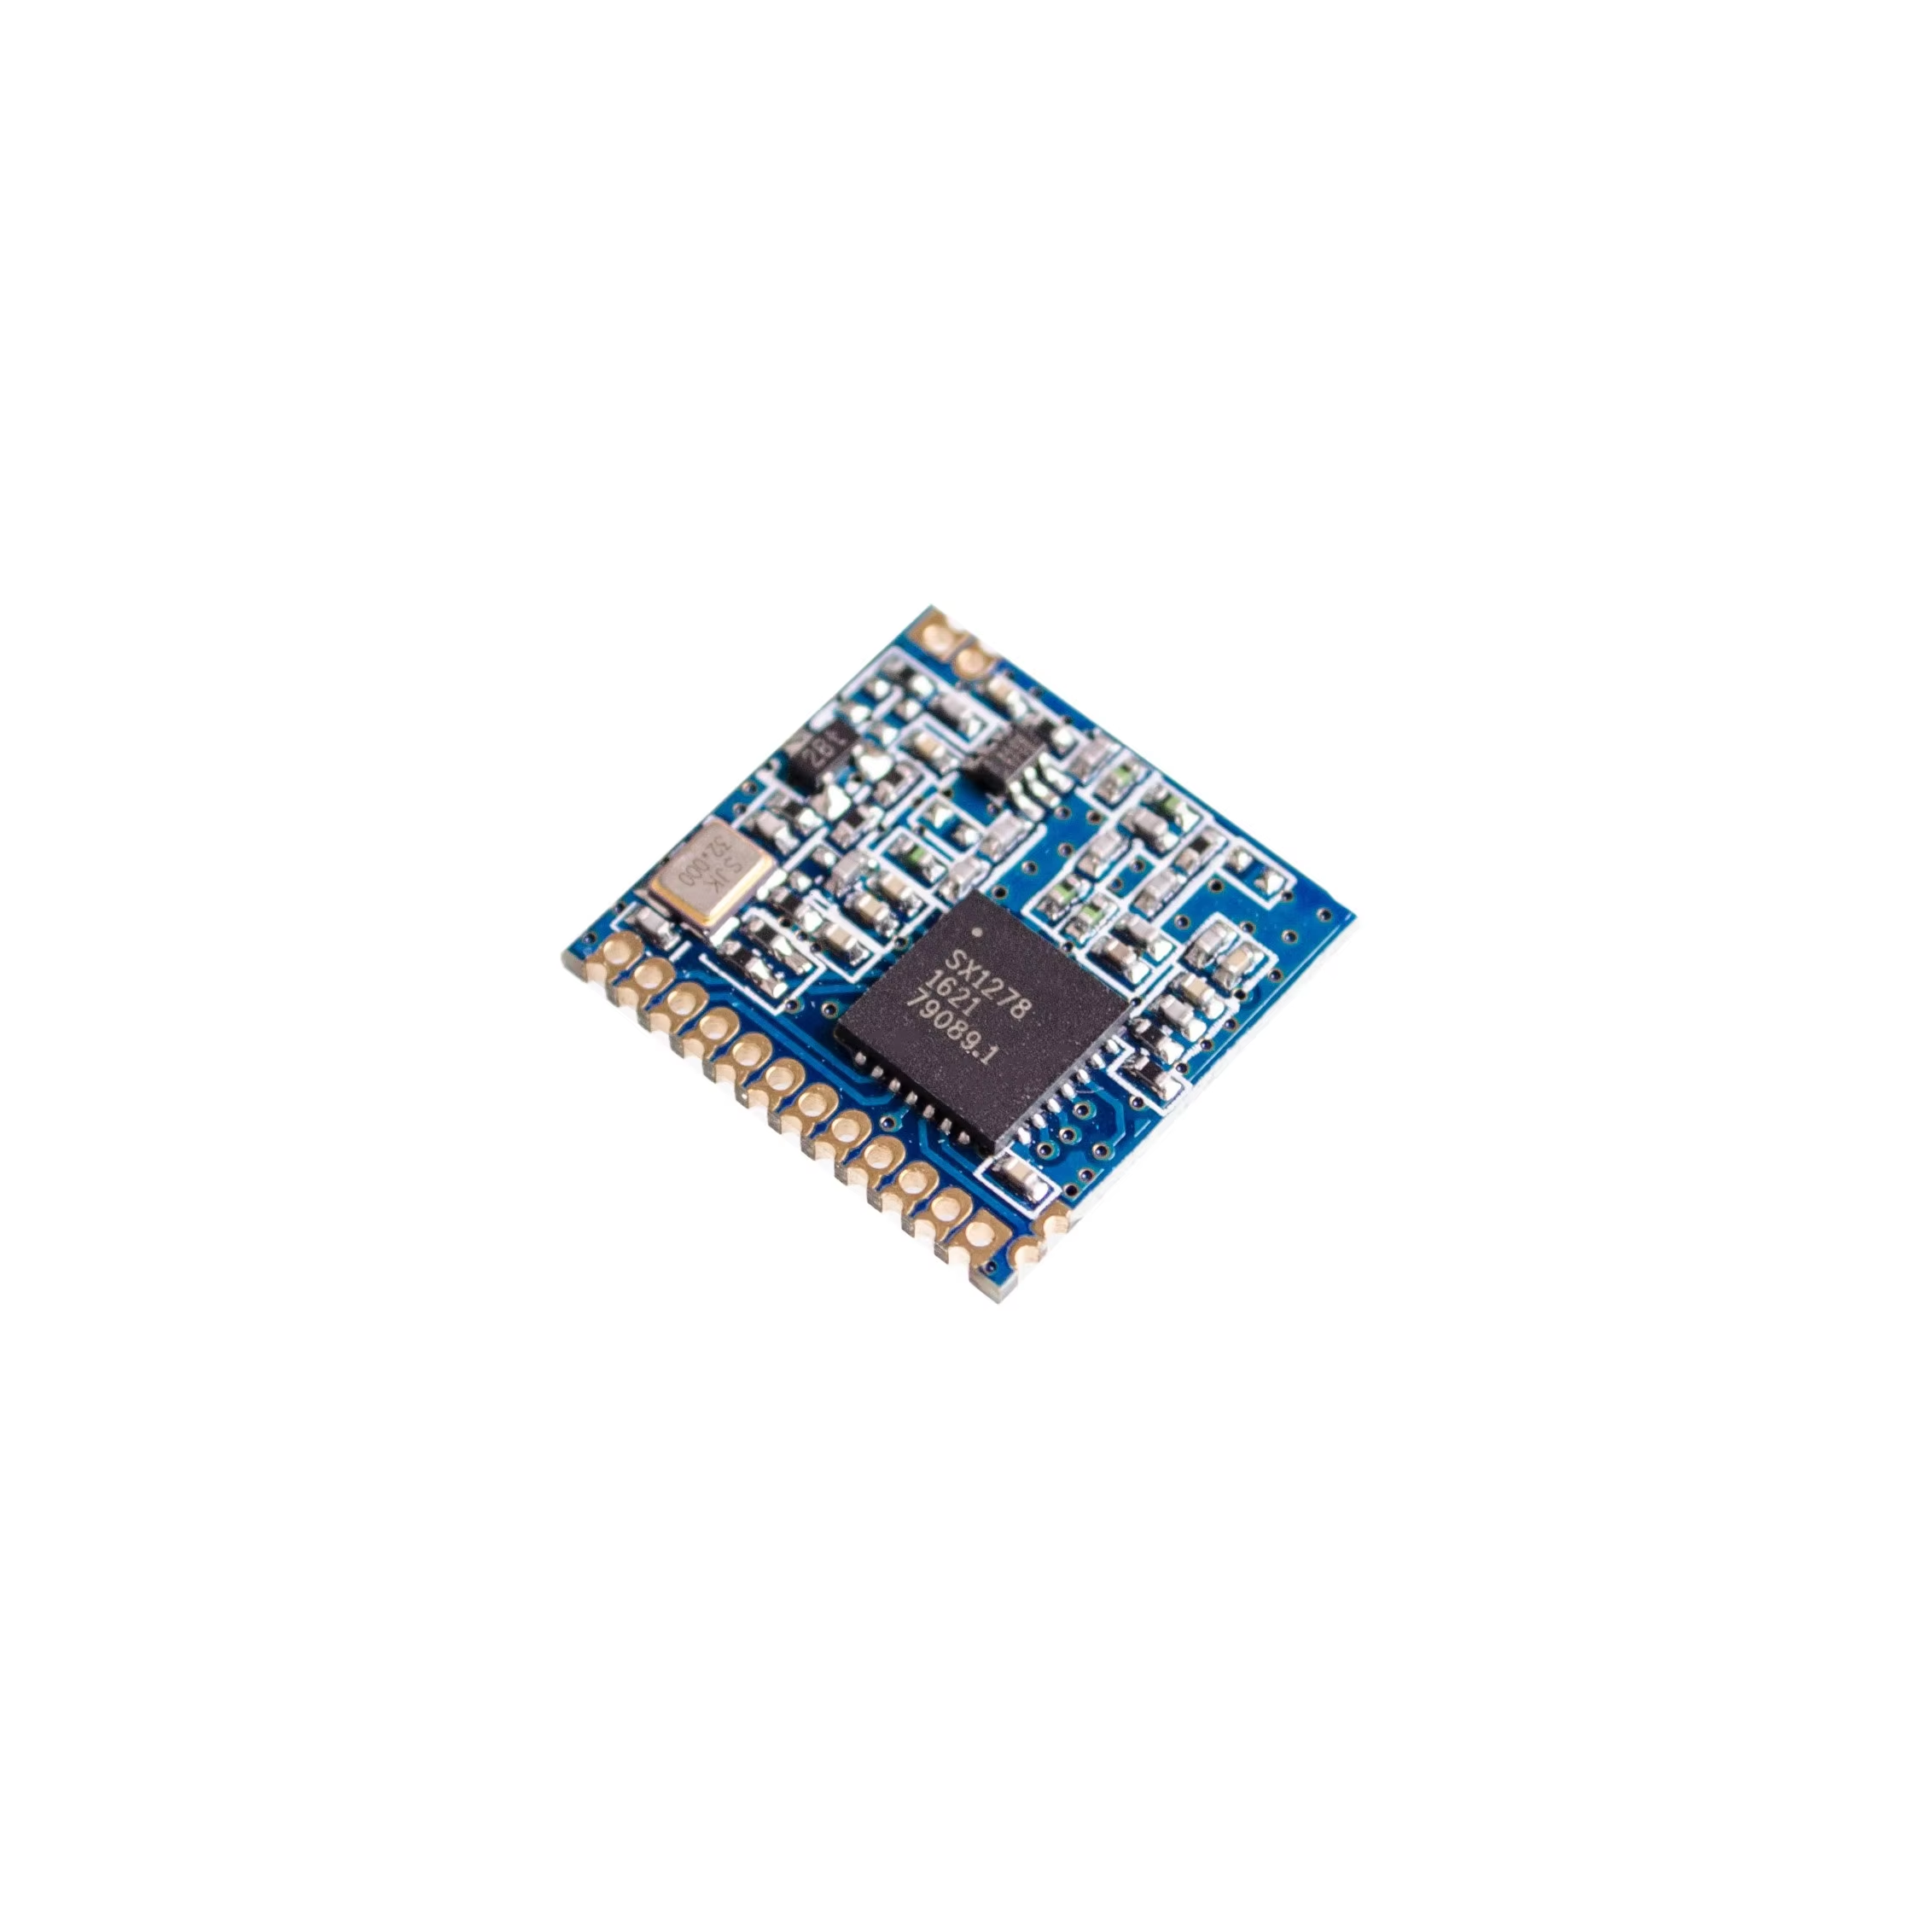

Description
Pinout


Features
- LoRa ™ Spread Spectrum modulation technology
- Constant RF power output at + 20dBm-100mW voltage change
- Half-duplex SPI communication
- Supports FSK, GFSK, MSK, GMSK, LoRa ™ and OOK modulation modes
- Automatic RF signal detection, CAD mode and very high speed AFC
- Packet engine with CRC up to 256 bytes
- Small footprint dual-row stamp-hole patch package
- Shielded housing
- Spring Antenna
Specifications
- Communication distance: 15KM
- Sensitivity: down to -148dBm
- Programmable bit rates: up to 300kbps
- RSSI dynamic range: 127dB
- Wireless frequency: 433MHz
- Working voltage: 1.8-3.7v
- Working temperature: -40-+80 ℃
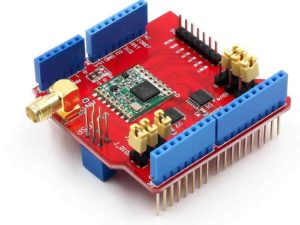
To interface the LoRa SX1278 or Ra-02 module with an Arduino, you can follow these steps. Both modules use SPI communication, so the connections to the Arduino will be similar.
Components Required:
LoRa SX1278 or Ra-02 Module (433 MHz)
Arduino (Uno, Nano, Mega, etc.)
Jumper Wires
Breadboard (optional)
Antenna for the LoRa module
Wiring the SX1278 or Ra-02 Module with Arduino:
The LoRa module communicates via SPI, so you need to connect the corresponding SPI pins between the module and the Arduino.
Pin Connections (for Arduino Uno/Nano):
- LoRa Module Pin Arduino Pin
- MISO Pin 12
- MOSI Pin 11
- SCK Pin 13
- NSS (CS) Pin 10
- RESET Pin 9
- DIO0 Pin 2
- GND GND
- VCC (3.3V) 3.3V (Important!)
Note: The LoRa module operates at 3.3V, so ensure you’re using the 3.3V pin for power. Also, the logic level is 3.3V, so if you are using a 5V Arduino, it’s safer to use level shifters for the SPI pins (although many users get by without them).
Libraries and Code:
You can use the LoRa.h library by Sandeep Mistry for easy integration with Arduino. Here’s how to install the library and write a basic program to send and receive messages.
Step 1: Install the LoRa Library
Open Arduino IDE.
Go to Sketch -> Include Library -> Manage Libraries.
Search for LoRa and install the LoRa by Sandeep Mistry library.
Step 2: LoRa Transmitter Code (Sender)