Description
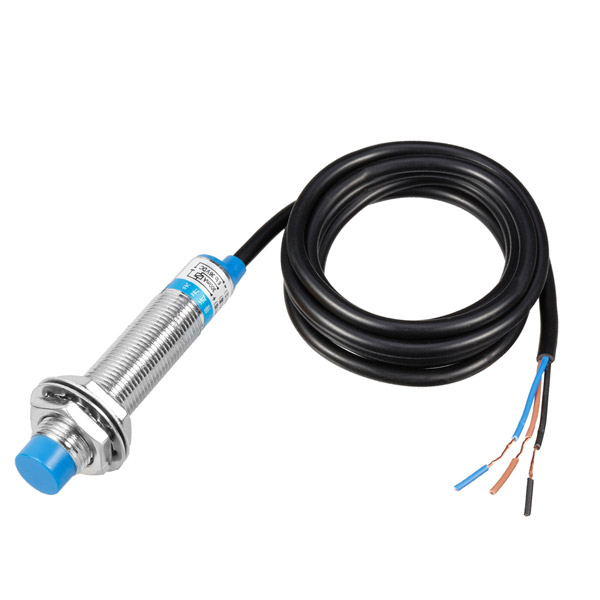
When the metal approaches near-proximity switch sensing area, and Eady Current is induced in metal. Which in turn disturbs the magnetic field produced by the Inductive Proximity Sensor. This change is sensed by the sensor.
This inductive proximity switches can be non-contact, no pressure, no spark, quickly issued the electrical command. Accurately reflect the position and stroke movement mechanism. Positioning accuracy, operating frequency, service life. Easy to install and suitable for harsh environments.
This 8mm proximity sensor can detect a variety of metals, miniature size, long life, shielded type installation, anti-interference ability, 1mm detection distance, used for precise positioning of molds, precision machine tools, and robots.
Specification
| Operating Voltage | DC 6-36V range within Universal |
| Output Type | NPN Normally Open Three-line |
| Detection object | Metal Objects |
| Detection distance (mm) | 1 – 10 |
| Output Current | 300 mA |
| Working temperature (°C) | -25 ~ +70, ±15% |
| Cable Length | Approx 1.1 m |
| Material | Metal and plastic |
| Dimensions | 17 mm Screw Diameter |
| Weight | 70 gm |
Features :
- Red LED checks the state of the proximity sensor.
- High repeated positioning accuracy.
- High switching frequency.
- Wide voltage range.
- Outer (Theard) Diameter: M17.
- Antivibration, dust, water and oil prevention.
- Reverse power protection, short circuit protection, directly connecting with PLC.
- It can replace small switches and limit switches.
Getting started with the Inductive Proximity Sensor Switch NPN DC 6V-36V
In this project you’re going to create a simple circuit with an Arduino and Inductive proximity sensor that can detect target object. An LED will light up when object is detected.
Hardware required
- Arduino Uno
- Inductive proximity sensor
- Jumper wires
Connecting the Hardware
The metal proximity sensor will have three color wire. The blue should be in the ground, Black– Trigger Signal is on pin 2, brown is on +VCC which should be +6v to +36V. Assemble all the parts by following the schematics below.
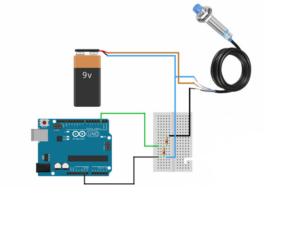
Upload the sample sketch
const int Pin=2;//connect sensor data wire to D2 of Arduino
void setup() {
pinMode(Pin, INPUT);
Serial.begin(9600);
}
void loop() {
int sensorValue = digitalRead(Pin);
if(sensorValue!=LOW){
Serial.println(“NOT DETECTED”);
delay(500);
}
else{
Serial.println(“DETECTED”);
delay(500);
}
Testing the circuit
In this example you need to open your serial monitor to see the incoming signal from the digital pin then make a threshold to determine if metal is detected or not.


