Description
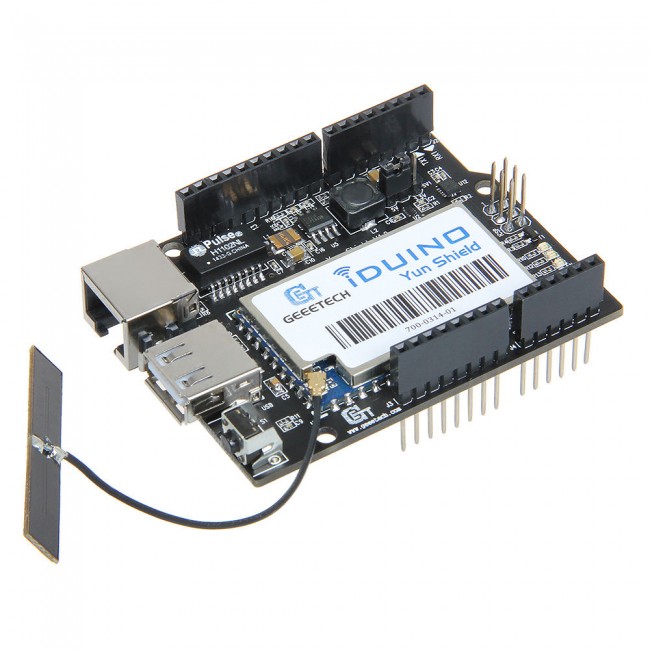
- Open source Linux system (OpenWrt) inside
- Low power consumption
- Compatible with Arduino IDE 1.5.4 or later versions. Users can program, debug or upload Sketch to Arduino board
- Managed by Web GUI, SSH via LAN or Wifi
- Software upgradable via network
- Support internet connection via LAN port, Wifi or 3G dongle
- Support USB flash to provide storage for Arduino projects
- Reliable design provides robust system
- Compatible with Arduino Leonardo, Uno, Duemilanove, Diecimila and Mega
- Processor: 400MHz, 24 MIPS
- Flash: 16MB
- RAM: 64MB
- Power input: 4.75V~23V via Arduino Vin pin
- 1×10M/100M RJ45
- Connector 150M Wifi 802.11 b/g/n
- External antenna via I-Pex
- 1×USB port for USB storage or 3G connection
- 1×Reset button
- Compatible with 3.3V or 5V I/O Arduino
Getting started with Iduino yun shield and Arduino UNO
This tutorial will give you a quick guide on how to connect the Iduino yun shield on the Arduino UNO and how to talk to linux and also how to configure the Iduino yun Shield
Step1: Hardware required
Step2: Connecting the Iduino to the arduino Uno
take shorting connector and connect it as shown in the picture below in order to put the serial chip in the reset mode.

Take the Iduino shield and plug it at the top of the arduino Uno make sure that it is well fixed on the SPI pins as shown on the picture below and also put an antenna on the yun shield, and plug in the dc power adapter in DC jack of the arduino Uno

do not connect the usb cable on the arduino to supply it, use the dc adapter
step3: Controlling and Connecting your Iduino shield on the computer
after few second you will see the iduino wifi and connect to it(no password required). open your browser and type in the Iduino shield ip address by default the Iduino ip address is 192.168.240.1, you will see the web based software to control the Iduino Yun shield also by default the password is “iduino” after inserting the password you will see the interface like this below,

this is where you can control and configure your uno shield
step4: configure the Iduino shield and upload the sample code
you need to configure the board type you are using for this tutorials we will be using the arduino uno set the board type to the Arduino uno w/Atmega328P make sure the operation mode is the Arduino bridge and debug level is disabled as shown below

now we can upload our sample code, first you need to have arduino IDE from Version 1.5.4 up to the latest version and make sure that you have bridge library if not you can download it here.
after downloading the bridge library extract it to the library folder in the arduino installation folder and reopen your arduino IDE go to file>examples>bridge>consoleRead open it. go to tools>port and set the port as shown below

and also you need to download new board that are compatible with the iduino shield put this url shown on the picture below and after go to tools>boards>board manage and install the dragino Yun boards. http://www.dragino.com/downloads/downloads/YunShield/package_dragino_yun_test_index.json

upload the consoleRead sketch and after uploading open your serial monitor you will see things like this below

cool!! you did your first project with Iduino yun shield and you can do many things using this shield!!


