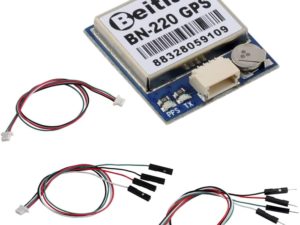
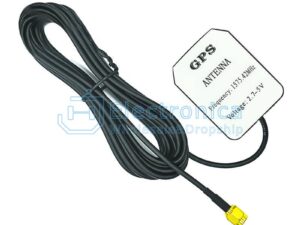
Description
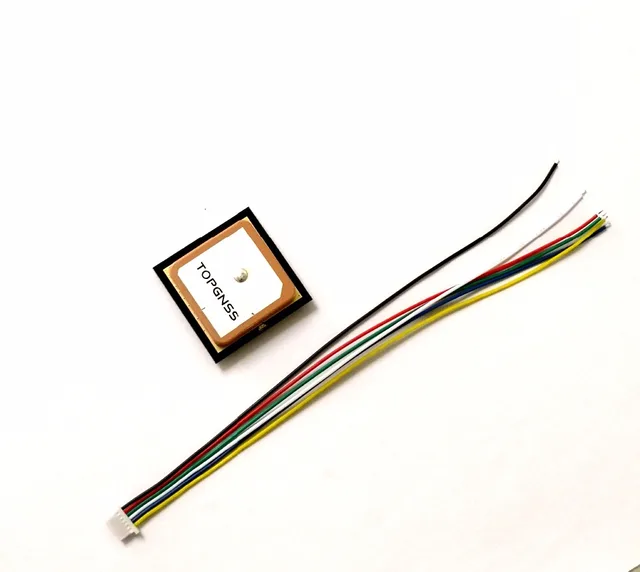
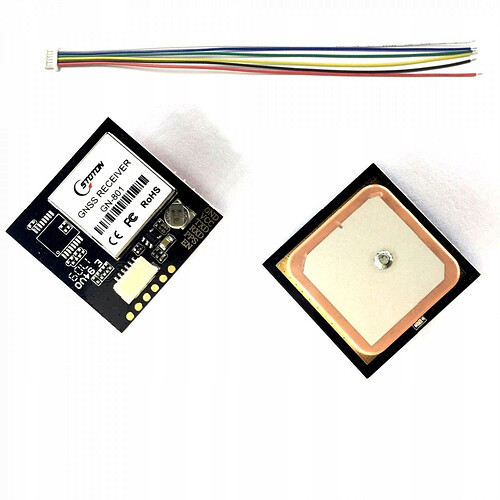
The GN-801 is a high-performance, low-power GNSS smart antenna module with multi-constellation support, allowing GPS + GLONASS and GPS + BeiDou positioning. This guide explains how to use it with an Arduino to retrieve GPS coordinates.
Key Specifications of GN-801:
- GNSS Chip: UBX-M8030-KT
- Frequency: L1, 1575.42 MHz
- Protocols: NMEA 0183 v2.3, 4.x; supports GPS, QZSS, GLONASS, BeiDou, and SBAS (WAAS, EGNOS, MSAS)
- Baud Rates: Default 9600; adjustable to 1200, 4800, 19200, 38400, 57600, 115200 bps
- Sensitivity: Tracking -160 dBm; Acquisition -157 dBm
- Start Times: Cold Start ~29 s; Warm Start ~28 s; Hot Start ~1 s
- Accuracy: Horizontal <2.5 m (autonomous); <2.0 m with SBAS
- Update Rate: 1-10 Hz (default 1 Hz)
- Operating Voltage: 3.3V-5.0V DC
Components Needed
Hardware Connections
- Power Connections:
- Connect the 5V pin on the Arduino to the VCC pin on the GN-801.
- Connect any GND pin on the Arduino to the GND pin on the GN-801.
- Serial Communication:
- Connect the TX pin on the GN-801 to the RX pin on the Arduino (pin 8 in code).
- Connect the RX pin on the GN-801 to the TX pin on the Arduino (pin 7 in code).
Installing the TinyGPSPlus Library
To parse GNSS data, install the TinyGPSPlus library by Mikal Hart:
- Download the library from the Arduino Library Manager or from TinyGPSPlus GitHub.
- Extract it into your Arduino libraries folder if downloaded manually.
Sample Code
The code below retrieves GPS coordinates (latitude and longitude) and displays them on the Serial Monitor.
#include <TinyGPSPlus.h>
#include <SoftwareSerial.h>

static const int GPSTXPin = D7, GPSRXPin = D8; // GPS module pins
static const uint32_t GPSBaud = 9600; // GPS module baud rate

// TinyGPSPlus object
TinyGPSPlus gps;

// Serial connection to the GPS device
SoftwareSerial ss(RXPin, TXPin);

void setup() {
Serial.begin(9600);
ss.begin(GPSBaud);
Serial.println("GN-801 GPS Module Initialized");
}

void loop() {
getGPSData();
}

void getGPSData() {
while (ss.available() > 0) {
gps.encode(ss.read());
if (gps.location.isUpdated()) {
float latitude = gps.location.lat();
float longitude = gps.location.lng();
Serial.print("Latitude: "); Serial.println(latitude, 6);
Serial.print("Longitude: "); Serial.println(longitude, 6);
}
}
}
Setup Instructions and Testing
- Upload Preparation: Disconnect the TX and RX pins of the GN-801 from the Arduino before uploading the code. Once the upload is complete, reconnect the pins.
- Satellite Connection: Once the GN-801 module is connected and powered, its LED will blink when it successfully connects to a satellite. For best results:
- Ensure the antenna is facing toward the sky.
- If coordinates are not being received, try moving outdoors and repositioning the antenna to improve reception.
- Serial Monitor Settings: Open the Serial Monitor in the Arduino IDE and set it to 9600 baud to view coordinates in real-time.
- Testing: After uploading the code and reconnecting the TX and RX pins, open the Serial Monitor. You should see the GPS coordinates (latitude and longitude) for your location displayed in real time.

