Description
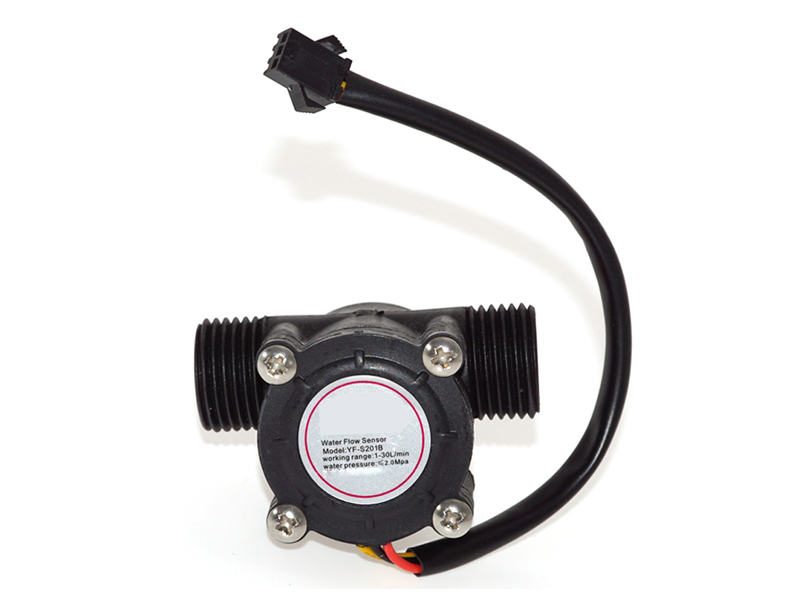
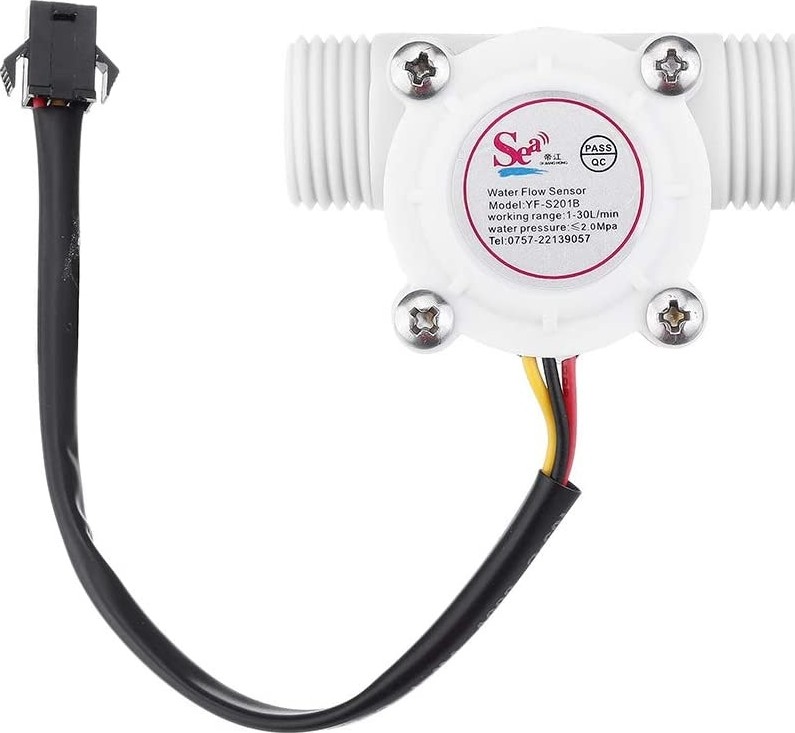
The water flow sensor is applied for water heater, imprinter, automatic water machine, and other flow metering equipment.Portable size and light weight, easy to install With stainless steel ball inside of the impeller, wear-proof.Up and down structure stress applied for the seal ring, avoid to leak.
Note: When magnetic material is close with the sensor, its characteristics may vary.In order to avoid particle debris, the sensor must be installed after a filter.The flow sensor installation has to avoid strong vibration and shaking of the environment, so as not to affect the sensor’s measurement accuracy.
Technical Parameters:
- Minimum rated working voltage:DC4.5 5V-24V
- Maximum working current:15 mA(DC 5V)
- Working voltage range:DC 5~18 V
- Load capacity:≤10 mA(DC 5V)
- Operating humidity range:35%~90%RH (no frost)
- Flow Range:1-30L/min
- water pressure≤ 1.75MPa
- Allow compression:Water pressure 1.20Mpa
- Storage Temperature:-25~+ 80℃
Getting started with the Water Flow Sensor (Flow-meter)
In this tutorial you will learn how to use one water flow sensor with an Arduino board.
The water flow sensor consists of a plastic valve body, a water rotor and a hall-effect sensor. When the water flows through the rotor, rotor rolls and the speed of it changes with a different rate of flow. The hall-effect sensor outputs the corresponding pulse signal. This type of sensor can be found on different diameters, water pressure (MPa) and flow rate (L/m) ranges. Make sure to select one that will cover your needs. The sensor that I have it has 20mm diameter, ≤ 1.75Mpa water pressure and 1~30L/m flow rate range. In this tutorial we will use the serial monitor for printing the water flow rate in liters per hour and the total of liters flowed since starting.
Hardware required
- Arduino Uno
- Water flow sensor
- Jumper wires
Connecting the Hardware
Connect the Water flow sensor to the arduino UNO as shown below

Upload The Code And Test
/* Measure the liquid/water flow rate using this code.
Connect Vcc and Gnd of sensor to arduino, and the
signal line to arduino digital pin 2.
*/

byte statusLed = 13;
byte sensorInterrupt = 0; // 0 = digital pin 2
byte sensorPin = 2;

// The hall-effect flow sensor outputs approximately 4.5 pulses per second per
// litre/minute of flow.

float calibrationFactor = 4.5;
volatile byte pulseCount;
float flowRate;
unsigned int flowMilliLitres;
unsigned long totalMilliLitres;
unsigned long oldTime;

void setup() {
// Initialize a serial connection for reporting values to the host
Serial.begin(9600);

// Set up the status LED line as an output
pinMode(statusLed, OUTPUT);
digitalWrite(statusLed, HIGH); // We have an active-low LED attached
pinMode(sensorPin, INPUT);
digitalWrite(sensorPin, HIGH);

pulseCount = 0;
flowRate = 0.0;
flowMilliLitres = 0;
totalMilliLitres = 0;
oldTime = 0;

// The Hall-effect sensor is connected to pin 2 which uses interrupt 0.
// Configured to trigger on a FALLING state change (transition from HIGH
// state to LOW state)

attachInterrupt(sensorInterrupt, pulseCounter, FALLING);
}

/*** Main program loop */

void loop() {
if((millis() - oldTime) > 1000) // Only process counters once per second
{
// Disable the interrupt while calculating flow rate and sending the value to
// the host
detachInterrupt(sensorInterrupt);

// Because this loop may not complete in exactly 1 second intervals we calculate
// the number of milliseconds that have passed since the last execution and use
// that to scale the output. We also apply the calibrationFactor to scale the output
// based on the number of pulses per second per units of measure (litres/minute in
// this case) coming from the sensor.

flowRate = ((1000.0 / (millis() - oldTime)) * pulseCount) / calibrationFactor;

// Note the time this processing pass was executed. Note that because we've
// disabled interrupts the millis() function won't actually be incrementing right
// at this point, but it will still return the value it was set to just before
// interrupts went away.

oldTime = millis();

// Divide the flow rate in litres/minute by 60 to determine how many litres have
// passed through the sensor in this 1 second interval, then multiply by 1000 to
// convert to millilitres.

flowMilliLitres = (flowRate / 60) * 1000;

// Add the millilitres passed in this second to the cumulative total
totalMilliLitres += flowMilliLitres;

unsigned int frac;

// Print the flow rate for this second in litres / minute
Serial.print("Flow rate: ");
Serial.print(int(flowRate)); // Print the integer part of the variable
Serial.print("L/min");
Serial.print("\t"); // Print tab space

// Print the cumulative total of litres flowed since starting
Serial.print("Output Liquid Quantity: ");
Serial.print(totalMilliLitres);
Serial.print("mL");
Serial.print("\t"); // Print tab space
Serial.print(totalMilliLitres/1000);
Serial.print("L\n");

// Reset the pulse counter so we can start incrementing again
pulseCount = 0;

// Enable the interrupt again now that we've finished sending output
attachInterrupt(sensorInterrupt, pulseCounter, FALLING);
}}

/* Insterrupt Service Routine */
void pulseCounter() {
// Increment the pulse counter
pulseCount++;
}
Now that all of the code has been written, it can be uploaded to your Arduino! Click “Upload” button in the top left corner of the Arduino IDE and it should upload without any issues.
Next, click the “Serial Monitor” button in the top right corner (it looks like a magnifying glass). After a few seconds you should start to see a stream of data appear in the window – that is your flow in Liters/Minute.

Package includes:
1×YF‐S201 Water Flow Sensor