Description
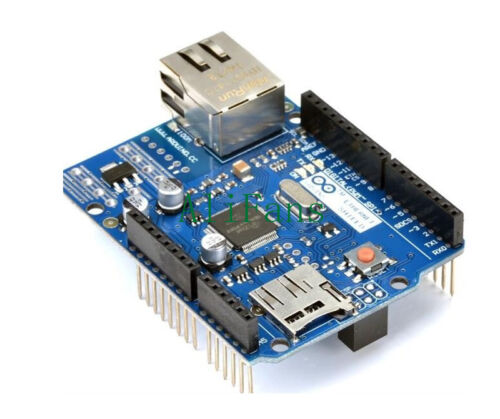
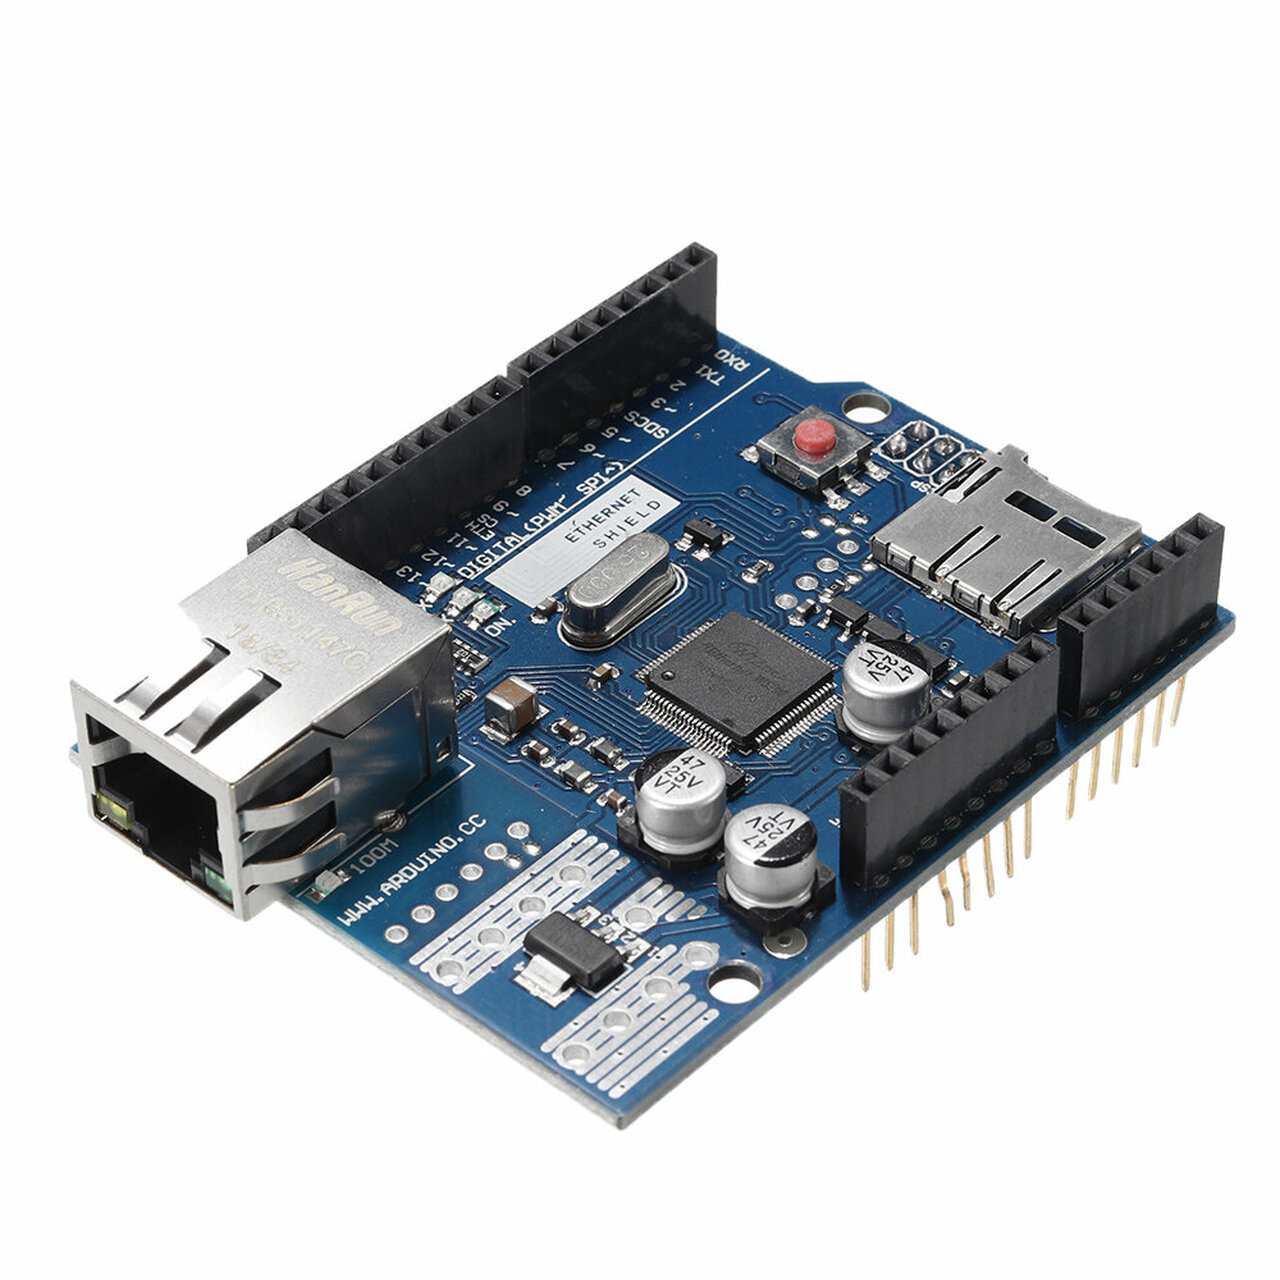
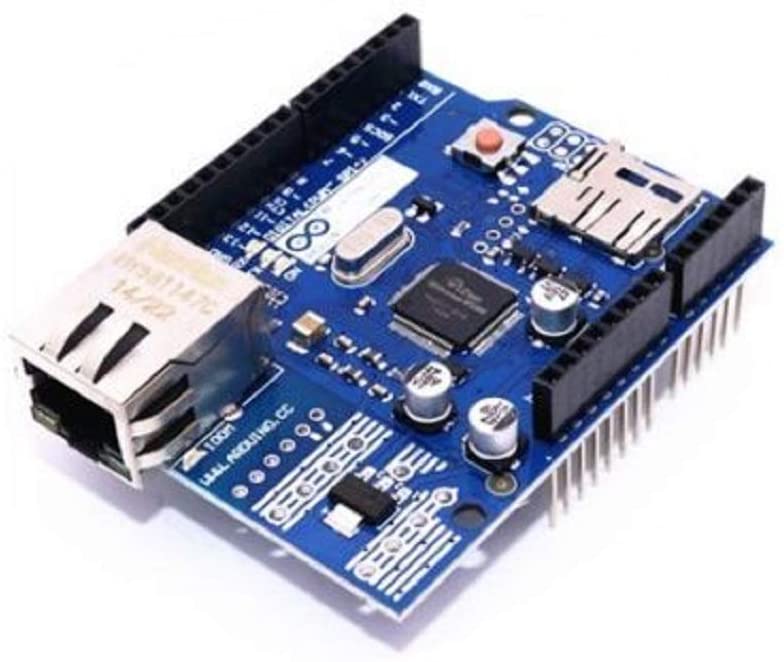
The Ethernet Shield for Arduino connects your Arduino to the internet in mere minutes. Just plug this module onto your Arduino board, connect it to your network with an RJ45 cable(not included) and follow a few simple instructions to start controlling your world through the internet. As always with Arduino, every element of the platform – hardware, software and documentation – is freely available and open-source. This means you can learn exactly how it’s made and use its design as the starting point for your own circuits.
The Ethernet Shield for Arduino allows an Arduino board to connect to the internet. It is based on the Wiznet W5100 ethernet chip. The Wiznet W5100 provides a network (IP) stack capable of both TCP and UDP. It supports up to four simultaneous socket connections. Use the Ethernet library to write sketches which connect to the internet using the shield. The ethernet shield connects to an Arduino board using long wire-wrap headers which extend through the shield. This keeps the pin layout intact and allows another shield to be stacked on top.
Specification:
Requires an Arduino board(not included)
Operating voltage 5V(supplied from the Arduino board)
Ethernet controller: W5100 with internal 16K buffer
Connection speed: 10 / 100Mb
Connection with Arduino on SPI port
Feature:
The most recent revision of the board exposes the 1.0 pinout on rev 3 of the Arduino UNO board.The Arduino Ethernet Shield has a standard RJ-45 connection, with an integrated line transformer and Power over Ethernet enabled.
There is an onboard micro-SD card slot, which can be used to store files for serving over the network. It is compatible with the Arduino Uno and Mega (using the Ethernet library). The onboard microSD card reader is accessible through the SD Library. When working with this library, SS is on Pin 4. The original revision of the shield contained a full-size SD card slot; this is not supported.
The shield also includes a reset controller, to ensure that the W5100 Ethernet module is properly reset on power-up. Previous revisions of the shield were not compatible with the Mega and need to be manually reset after power-up.
The current shield has a power over Ethernet(PoE) designed to extract power from a conventional twisted pair Ethernet cable:
IEEE802.3af compliant
Low output ripple and noise (100mVpp)
Input voltage range 36V to 57V
Overload and short-circuit protection
9V output
High efficiency DC / DC converter: typ 75% @ 50% load
1500V isolation (input to output)
The Ethernet Shield R3 for Arduino contains a number of informational LEDs:
PWR: indicates that the board and shield are powered
LINK: indicates the presence of a network link and flashes when the shield transmits or receives data
FULLD: indicates that the network connection is full duplex
100M: indicates the presence of a 100 Mb / s network connection (as opposed to 10 Mb / s)
RX: flashes when the shield receives data
TX: flashes when the shield sends data
COLL: flashes when network collisions are detected
How to get started with the Ethernet Shield W5100 R3 Support PoE For Arduino UNO Mega 2560
In case you do not have physical access to your Router and your Laptop is connected over WIFI to the Router. Or you cannot run a RJ45 cable from Router to Ethernet shield. you can very well connect Arduino Ethernet shield to Laptop through an ETHERNET STRAIGHT Cable. The available RJ45 cable in the market is mostly STRAIGHT cable & not CROSS OVER one.
Hardware required
- Arduino UNO
- Ethernet shield support POE
- Ethernet cable
- Laptop
PROCESS
First step is to enable SHARING of your existing internet.In my case , Laptop is connected to WIFI.
Open Control Panel –> Network & Internet –> Network & Sharing Center
Click on the existing internet connection

On the next screen click PROPERTIES and then SHARING

Tick mark to ENABLE SHARING of Internet connection

connect the Ethernet shield into the Arduino Uno. Go slowly and ensure that all pins are inserted correctly and are straight.Now plug in the USB cable to Arduino and then connect the RJ45 Straight cable from ethernet shield to the RJ45 Port of LAPTOP.

As soon as you connect the RJ45 cable you can see an UNIDENTIFIED NETWORK

Click on that new Network , select PROPERTIES. On the next screen double click on Internet Protocol version 4 (TCP/IPV4).

You can see an IP address like 192.168.137.1.
Note that this is the new Gateway IP of the new network formed by Ethernet shield.If you do not see any IP , just select the “ Use the following IP “ & feed in manually the IP.

Now RUN –> CMD > IPCONFIG /ALL
to verify the IP.
Under Ethernet adapter the Gateway IP of new network is displayed. Note that this is the GATEWAY IP & Ethernet shield will be allotted IP in this range .

Upload the sample sketch
Let us try some built in example codes.
Open arduino IDE, File-> Examples –> Ethernet –> select DhcpAddressPrinter ,This will print the IP allotted to the Shield on the serial monitor .

Testing the circuit
Upload the code & open up the Serial monitor. The IP allotted to the shield here is 192.168.137.55 which is in range of new Gateway .


