Description
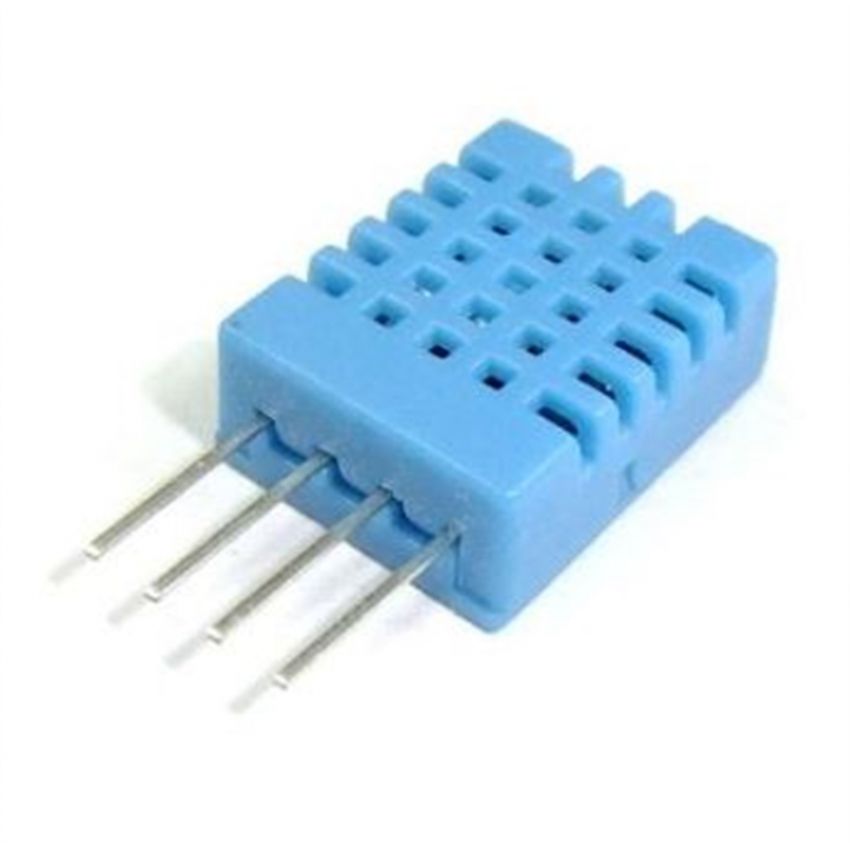
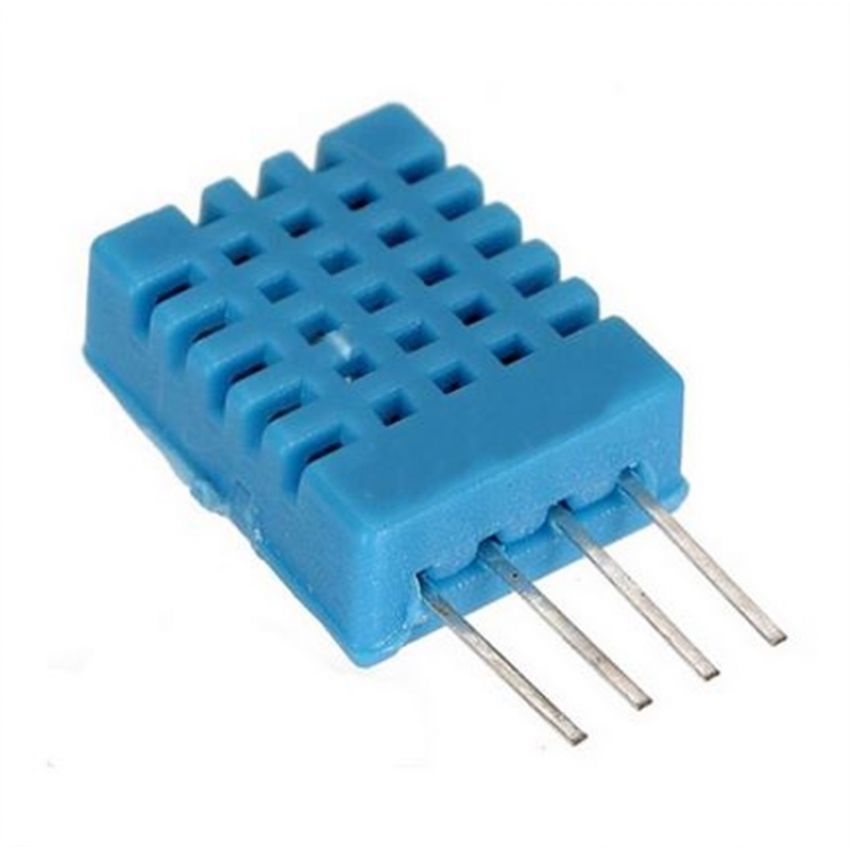
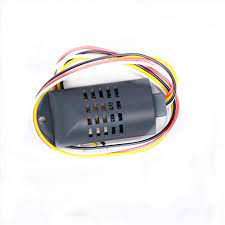
The DHT11 sensor is an affordable and reliable device designed for measuring temperature and humidity. Widely used in DIY electronics projects and sensor applications, this sensor is especially popular among Arduino enthusiasts and engineers. The DHT11 provides accurate data, which is essential for environmental monitoring, home automation systems, and weather stations.
At Faranux Electronics, we ensure that you get top-quality components for all your electronics needs, including the DHT11. With its ease of integration with Arduino and other microcontrollers, it is the perfect tool to start building your own sensor-based projects.
Features
- 3 to 5V power and I/O
- 2.5mA max current use during conversion (while requesting data)
- Good for 20-80% humidity readings with 5% accuracy
- Good for 0-50°C temperature readings ±2°C accuracy
- No more than 1 Hz sampling rate (once every second)
Getting started With Digital Temperature and Humidity Sensor DHT11
Connections
- First left pin: Arduino 3-5V power
- Second left pin: Arduino digital data input pin
- First right most pin: Ground.
Step1: Hardware required
For this tutorial you will need:
Step2: Connecting the hardware
The Circuit
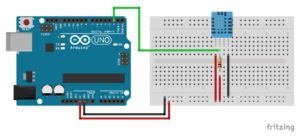
The connection is pretty easy, see the image above with breadboard circuit schematic.
Step3: Making the code and Upload it!
To read from the DHT sensor, we’ll use the DHT library from Adafruit. To use this library you also need to install the Adafruit Unified Sensor library. Follow the next steps to install those libraries.
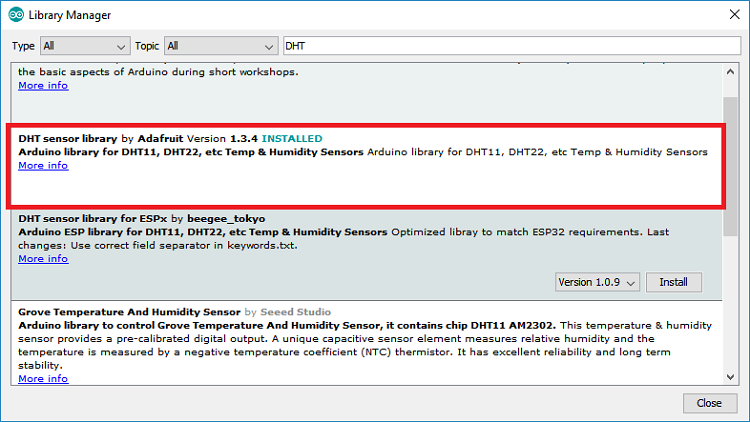
Open your Arduino IDE and go to Sketch > Include Library > Manage Libraries. The Library Manager should open. View more on how to install any library here.
Search for “DHT” on the Search box and install all the DHT library from Adafruit.
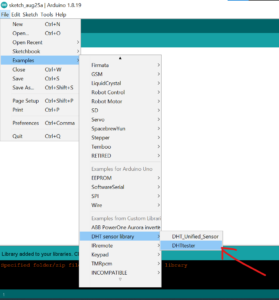
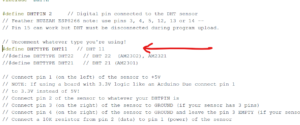
Before to upload this code, Uncomment DHT11 type and comment DHT21 & DHT22 type and upload it. As shown below
Testing codes
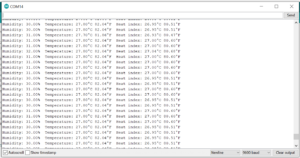
Once the code is uploaded to your Arduino, open the Serial Monitor, and you should see real-time readings of temperature and humidity.
Open the serial monitor
Application
The DHT11 sensor can be used in a variety of applications including:
- Weather Stations: Track the environmental conditions and forecast the weather.
- Home Automation Systems: Control air conditioning, heating, and ventilation based on temperature and humidity readings.
- Gardening Systems: Ensure optimal plant growth by monitoring humidity and temperature in greenhouses.
- Robotics Projects: Use temperature and humidity data to monitor the robot’s surroundings.


