
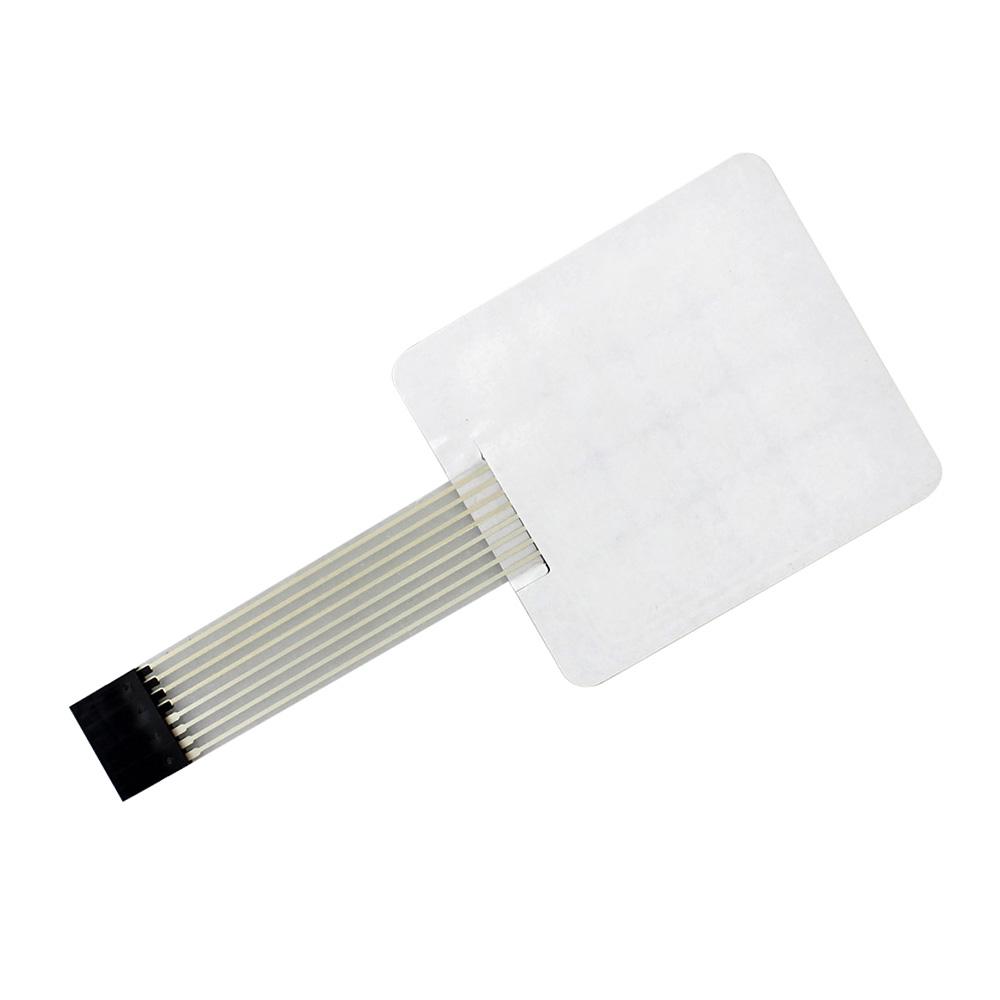
Description
*It has 8P DuPont head, pitch 2.54mm, can be inserted in the Pin connection circuit; Peel off the white sticker on the back of the keyboard can be securely affixed to the surface of the chassis
*Key Operating Force 150-200N
*Rebound time 1 (ms)
*Operating Temperature 60 (℃)
Specification
*Circuit Rating: 35V (DC), 100mA, 1W
*Contact resistance: 10Ω ~ 500Ω (Varies according to the lead lengths and different from those of the material used)
*Insulation resistance: 100MΩ 100V
*Dielectric Strength: 250VRms (50 ~ 60Hz 1min)
*Electric shock jitter:
Getting started with the 16 Key Membrane Switch Keypad Keyboard 4×4 Matrix Array
We are going to show how to connect a 4 x 4 Membrane Keypad to an Arduino.
Step1: Hardware required
Step2: Connecting the Hardware
The connections are pretty straightforward. Start by connecting pin 1 of keypad to digital pin 9 on Arduino. Now keep on connecting the pins leftwards like 2 with 8, 3 with 7 etc.

Step3: Setting up the library
To install the library navigate to the Sketch > Include Library > Manage Libraries…Wait for Library Manager to download libraries index and update list of installed libraries.

Filter your search by typing ‘keypad’. There should be a couple entries. Look for Keypad by Mark Stanley, Alexander Brevig. You have to scroll a little bit. Click on that entry, and then select Install.

Step4: Upload the Code
#include <Keypad.h>

const byte ROWS = 4; //four rows
const byte COLS = 4; //four columns

char keys[ROWS][COLS] = {
{'1','2','3','A'},
{'4','5','6','B'},
{'7','8','9','C'},
{'*','0','#','D'}
};

byte rowPins[ROWS] = {9, 8, 7, 6}; //connect to the row pinouts of the keypad
byte colPins[COLS] = {5, 4, 3, 2}; //connect to the column pinouts of the keypad

//Create an object of keypad
Keypad keypad = Keypad( makeKeymap(keys), rowPins, colPins, ROWS, COLS );

void setup(){
Serial.begin(9600);
}
void loop(){
char key = keypad.getKey();// Read the key

// Print if key pressed
if (key){
Serial.print("Key Pressed : ");
Serial.println(key);
}}
Step5: Testing the circuit
Here’s how the output looks like in the serial monitor.

Package includes:
1×16 Keys Membrane Switch Keypad