Description
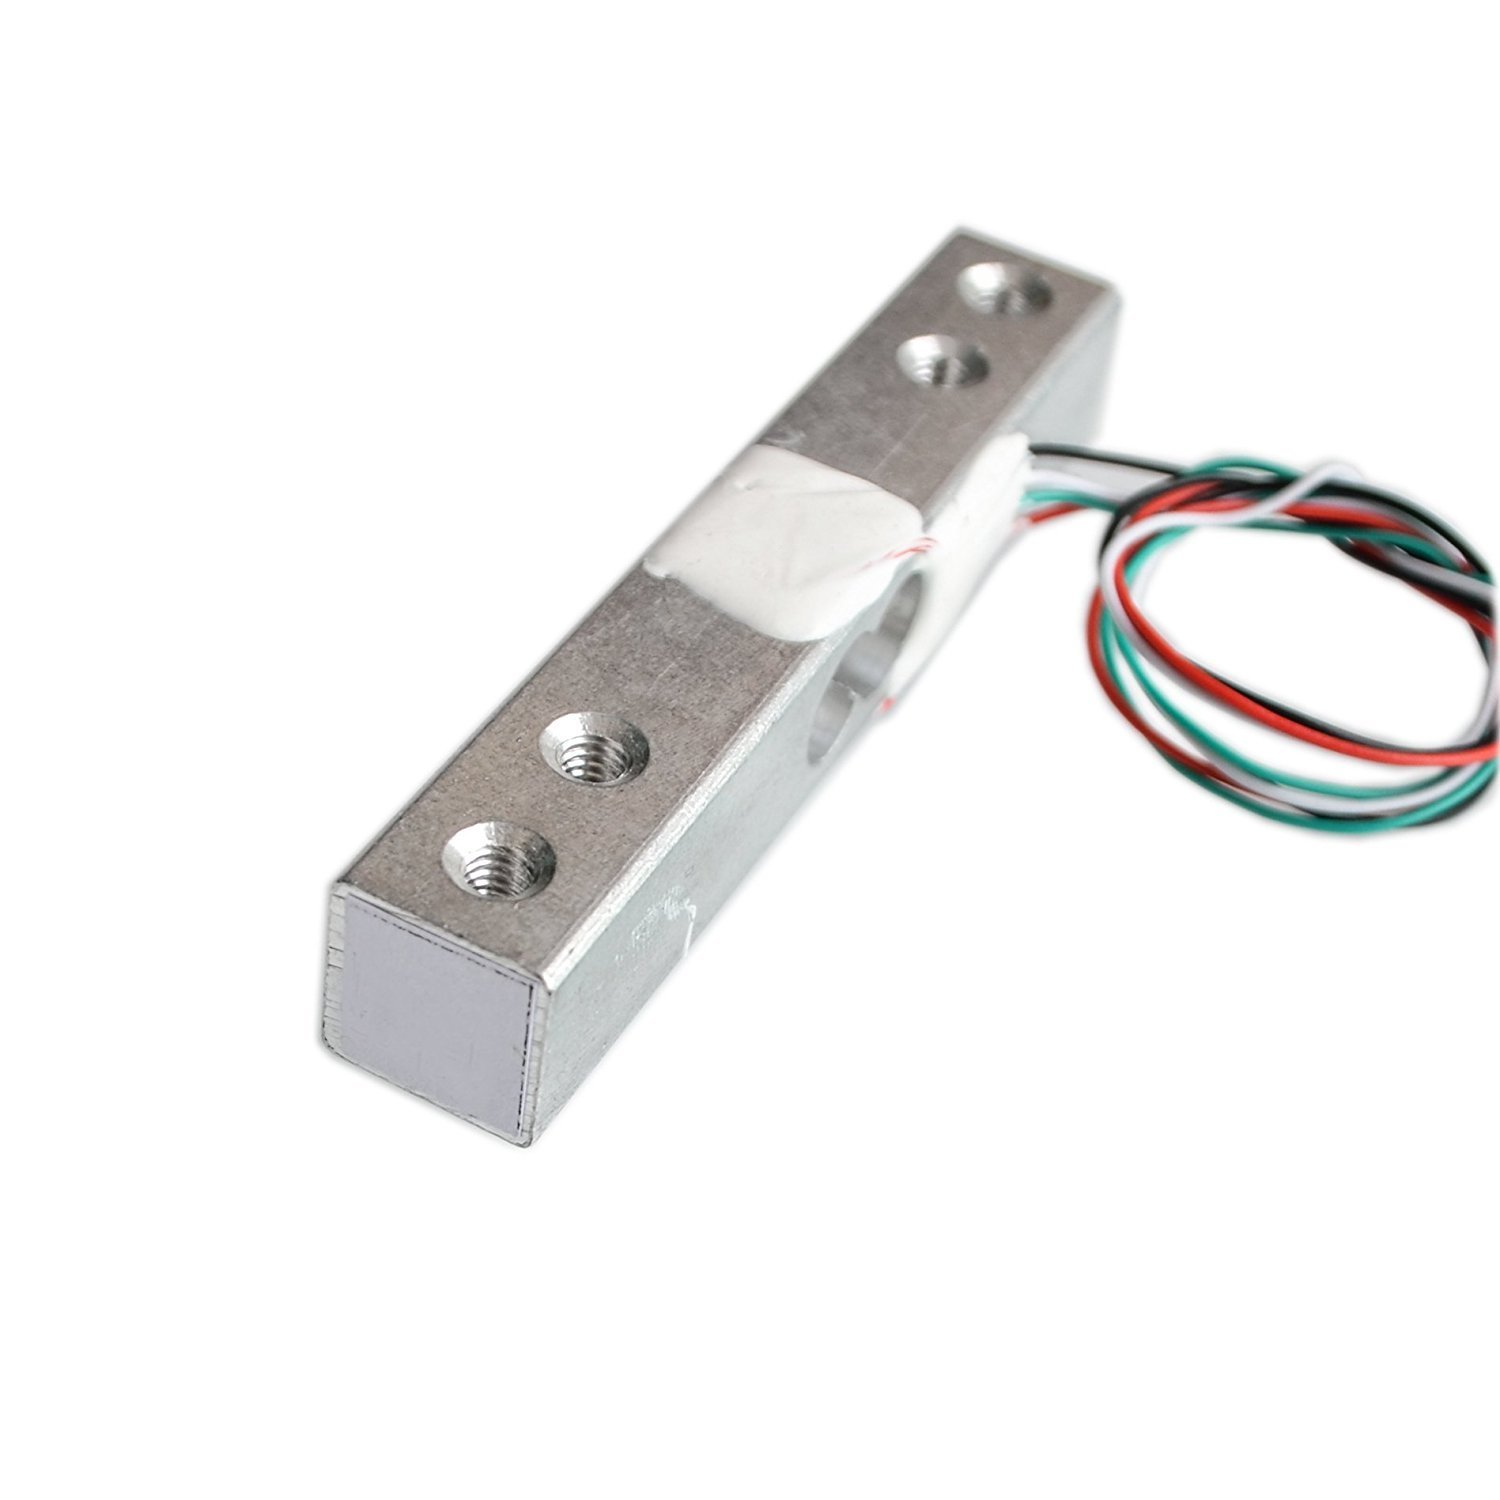
This straight bar load cell (sometimes called a strain gauge) can translate up to 1 kg of pressure (force) into an electrical signal. Each load cell is able to measure the electrical resistance that changes in response to, and proportional of, the strain (e.g. pressure or force) applied to the bar. With this gauge you will be able to tell just how heavy an object is, if an object’s weight changes over time, or if you simply need to sense the presence of an object by measuring strain or load applied to a surface.
Each straight bar load cell is made from an aluminum-alloy and is capable of reading a capacity of 1 kg.
Getting started with the 1Kg Scale Load Cell Weight Weighing Sensor
In the following discussions we will learn how to construct a digital weight scale machine using Arduino which can measure weights from few grams to 1Kg with reasonable accuracy. We will be calibrating the proposed circuit and finalizing the weight scale machine.
The output signal produced by the load cell is in range of millivolts, so we need an amplifier to convert the signal into a level that we can later transform it into a digital signal and process it. For this purpose, we useHX711 amplifier sensor. The HX711 amplifier sensor includes a HX711 chip with analog-to-digital conversion capability in 24-bit accuracy. The HX711 module amplifies the low-voltage output of the load cell and sends it to the Arduino so that the Arduino eventually calculate weight from this data.
What is a Load Cell?
A Load cell is an aluminium profile with strain gauge attached to 4 sides in Wheatstone bridge configuration
Hardware required
- 1Kg Scale Load Cell Weight Weighing Sensor
- Arduino Uno
- Jumper wires
- HX711 Load Cell Amplifier
Connecting the Hardware
Load cell connection HX711 to Arduino and load cell.

Note: Be careful about the side of the load cell when you’re putting a weigh on it. Usually, there is an arrow on the module that shows the force direction. With the help of this arrow, you can place the weight and the load cell correctly.

Library
Download the HX711 library here.
Calibrating the circuit
There are two programs; one is the calibration program (finding the calibration factor). Another code is weight measurement program, the calibration factor found from the calibration program code need to be entered in weight measurement program. The calibration factor determines the accuracy of the weight measurement.
Calibrations Program code:

Open the Calibration example that came with the “HX711_ADC” library.
Start calibration:
Place the load cell an a level stable surface.
Remove any load applied to the load cell.
Send ‘t’ from serial monitor to set the tare offset.
Tare complete
Now, place your known mass on the loadcell.
Then send the weight of this mass (i.e. 100.0) from serial monitor.
Known mass is: 305.90
New calibration value has been set to: (is based on the calibrationValue you got after fixing the load cell and following all the instructions), use this as calibration value (calibrationValue) in your project sketch.

Open the Arduino Serial Monitor
The calibration factor determines the accuracy of the weight measurement.

Another code is weight measurement program, the calibration factor(2128.59) found from the calibration program code need to be entered in weight measurement program.

Open the Arduino Serial Monitor
Now it can measure unknown weights.


