Description
| Thermistor(Ohm) | Type | Image | Price | Product Link |
|---|---|---|---|---|
| 1K | NTC | 500 | Add to basket | |
| 2K | NTC | 500 | Add to basket | |
| 3K | NTC | 500 | Add to basket | |
| 4.7K | NTC | 500 | Add to basket | |
| 5K | NTC | 500 | Add to basket | |
| 10K | NTC | 500 | Add to basket | |
| 20K | NTC | 500 | Add to basket | |
| 47K | NTC | 500 | Add to basket | |
| 50K | NTC | 500 | Add to basket | |
| 100K | NTC | 500 | Add to basket |
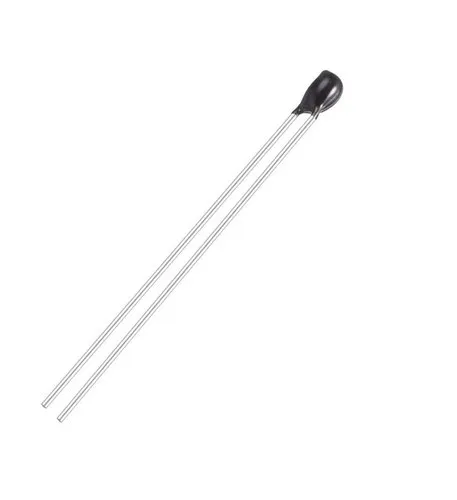
Getting started with Thermistor NTC 47K
In this tutorial you will learn how to use this thermistor NTC with Arduino Uno. The room temperature will be displayed on the serial monitor
Hardware required
- Arduino UNO
- Thermistor 47k NTC
- Jumper wires
- Resistor 47k
- Breadboard
How a thermistor NTC Works
Thermistors are variable resistors that change their resistance with temperature. They are classified by the way their resistance responds to temperature changes. In Negative Temperature Coefficient (NTC) thermistors, resistance decreases with an increase in temperature. The value of the resistor should be roughly equal to the resistance of your thermistor. In this case, the resistance of my thermistor is 47K Ohms, so my resistor is also 47K Ohms.
Connecting the Hardware

Upload the sample sketch
int ThermistorPin = 0;
int Vo;
float R1 = 10000;
float logR2, R2, T;
float c1 = 1.009249522e-03,
c2 = 2.378405444e-04,
c3 = 2.019202697e-07;
void setup() {
Serial.begin(9600);
}
void loop() {
Vo = analogRead(ThermistorPin);
R2 = R1 * (1023.0 / (float)Vo – 1.0);
logR2 = log(R2);
T = (1.0 / (c1 + c2*logR2 + c3*logR2*logR2*logR2));
T = T – 273.15;
//T = (T * 9.0)/ 5.0 + 32.0;
Serial.print(“Temperature: “);
Serial.print(T);
Serial.println(” C”);
delay(500);
}
Testing the circuit
Upload the program to the Arduino board and then open the serial monitor. If it works correctly you should get the room temperature on the serial monitor.



Reviews
There are no reviews yet.