Description
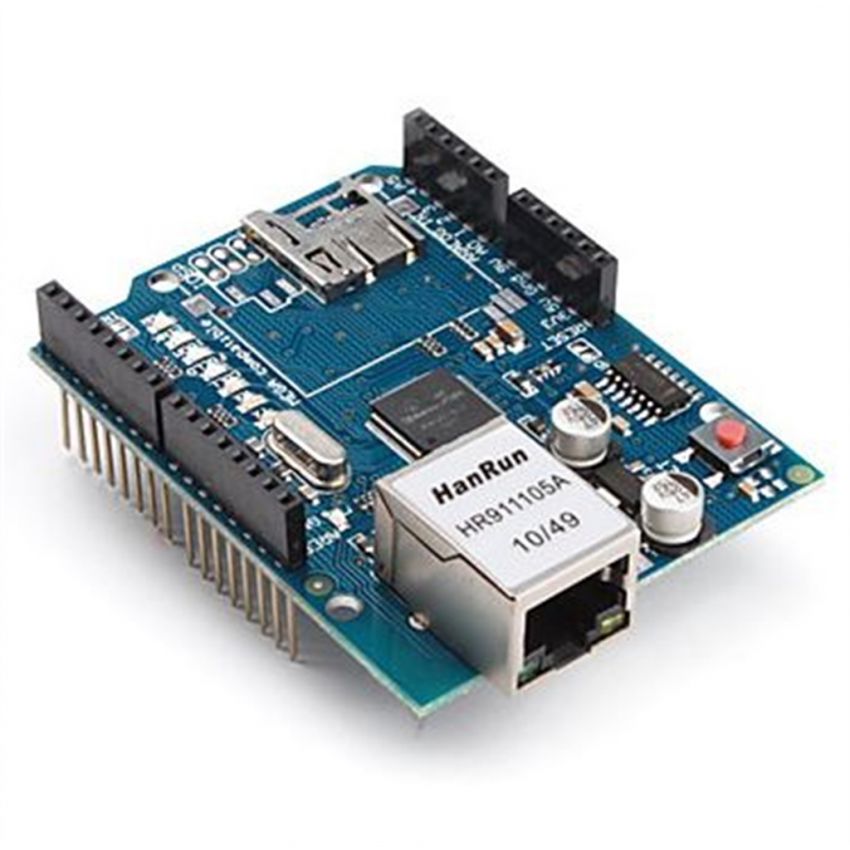
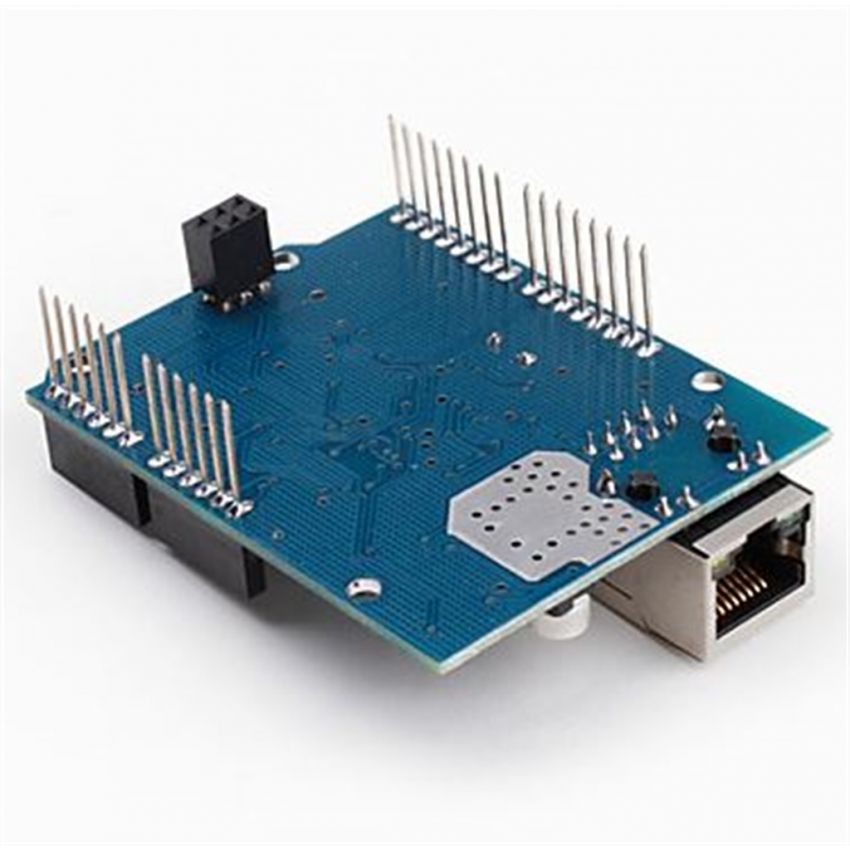
The Arduino Ethernet Shield connects your Arduino to the internet in mere minutes. Just plug this module onto your Arduino board, connect it to your network with an RJ45 cable (not included) and follow a few simple instructions to start controlling your world through the internet. As always with Arduino, every element of the platform – hardware, software and documentation . This means you can learn exactly how it’s made and use its design as the starting point for your own circuits. Hundreds of thousands of Arduino boards are already fueling people’s creativity all over the world, everyday.
Operating voltage 5V (supplied from the Arduino Board)
Ethernet Controller: W5100 with internal 16K buffer
Connection speed: 10/100Mb
Connection with Arduino on SPI port
Features
- The current shield has a Power over Ethernet (PoE) module designed to extract power from a conventional twisted pair
- Category 5 Ethernet cable: IEEE802.3af compliant
- Low output ripple and noise (100mVpp)
- Input voltage range 36V to 57V
- Overload and short-circuit protection
- 9V Output and can accept microSD Card
- High efficiency DC/DC converter: typ 75% @ 50% load
- 1500V isolation (input to output)
How to get started with the Arduino ethernet shield
In case you do not have physical access to your Router and your Laptop is connected over WIFI to the Router. Or you cannot run a RJ45 cable from Router to Ethernet shield. you can very well connect Arduino Ethernet shield to Laptop through an ETHERNET STRAIGHT Cable. The available RJ45 cable in the market is mostly STRAIGHT cable & not CROSS OVER one.
1.First step is to enable SHARING of your existing internet.In my case , Laptop is connected to WIFI.
Open Control Panel –> Network & Internet –> Network & Sharing Center
Click on the existing internet connection

On the next screen click PROPERTIES and then SHARING

Tick mark to ENABLE SHARING of Internet connection

Now plug in the USB cable to Arduino and then connect the RJ45 Straight cable from ethernet shield to the RJ45 Port of LAPTOP.

As soon as you connect the RJ45 cable you can see an UNIDENTIFIED NETWORK

Click on that new Network , select PROPERTIES. On the next screen double click on Internet Protocol version 4 (TCP/IPV4).

You can see an IP address like 192.168.137.1.
Note that this is the new Gateway IP of the new network formed by Ethernet shield.If you do not see any IP , just select the “ Use the following IP “ & feed in manually the IP.

Now RUN –> CMD > IPCONFIG /ALL
to verify the IP.
Under Ethernet adapter the Gateway IP of new network is displayed. Note that this is the GATEWAY IP & Ethernet shield will be allotted IP in this range .

Upload the sample sketch
Let us try some built in example codes.
Open arduino IDE, Under Examples –> Ethernet –> select DhcpAddressPrinter
This will print the IP allotted to the Shield.

Testing the circuit
Upload the code & open up the Serial monitor. The IP allotted to the shield here is 192.168.137.55 which is in range of new Gateway .


